Introduction
This activity allows students to become familiar with finding and pressing button A and B on the BBC micro:bit, as well as shaking it to experience some of the sounds that the micro:bit can play.
The micro:bit needs a program to tell it what to do. This activity uses a micro:bit running a pre-loaded Welcome to the micro:bit program.
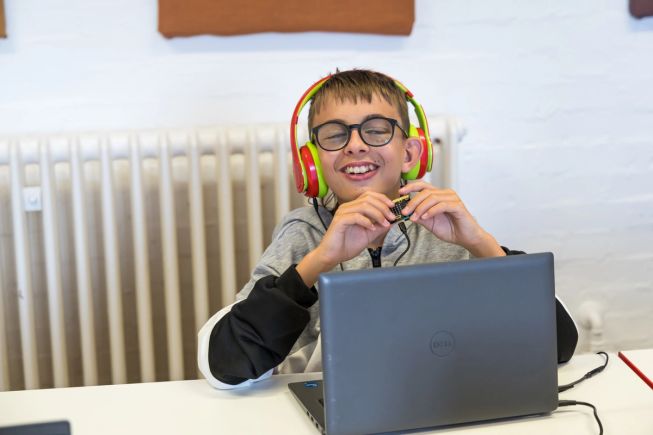
What you need
- micro:bit V2
- 50cm to 1m long USB A to micro USB connector cable (the additional length to the standard 0.3m cable helps with freedom of movement)
- A computer to connect the micro:bit, using a USB cable for power
- The Welcome to the micro:bit project downloaded onto the micro:bit (see Preparation below)
Preparation
Open the Welcome to the micro:bit project below in Microsoft MakeCode for micro:bit and download it to the micro:bit.
If needed, there is further information about downloading files to the micro:bit.
Note: The program also includes visual output to the LED display for students who have some vision.
Instructions
Connect your micro:bit
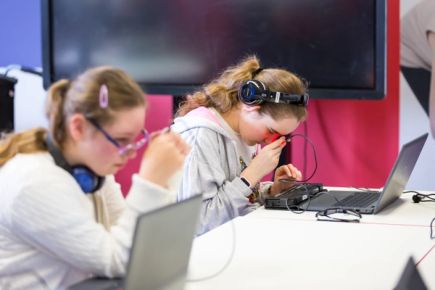
- Connect your micro:bit to a computer with a USB cable. Connect the smaller micro USB connector at the top of the micro:bit and the larger USB A connector to your computer. If you haven't already done so, press L to download the program to the micro:bit. Your micro:bit will automatically turn on and play a sound. This could be completed by the student or educator.
- Press the reset button on the back of the micro:bit to run the program and hear the sound again.
Tips:
- Feel how long the cable is so you know how much you can move the micro:bit.
- To find the reset button: hold the micro:bit with the USB cable at the top and the A and B buttons facing you. The reset button is on the back, just left of the USB cable and right of the large battery connector.
- This program also shows images on the LED display for students who have some vision.
Press the A and B buttons
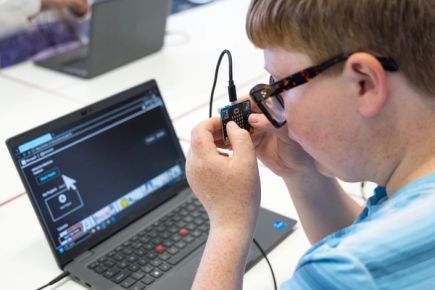
- Find the A button on the front of the micro:bit. Press it to hear a sound.
- Find the B button. Press it to hear a different sound.
Tip:
- The A button is on the left of the micro:bit when the cable is at the top. The B button is on the right. If you have added braille labels, they will be above buttons A and B.
Shake the micro:bit
- Shake the micro:bit to hear a sound.
- Practice until you are confident creating a shake gesture to trigger the sound.
Tip:
- Hold the micro:bit by its edges and firmly shake it in any direction. This can take some practise.