Introduction
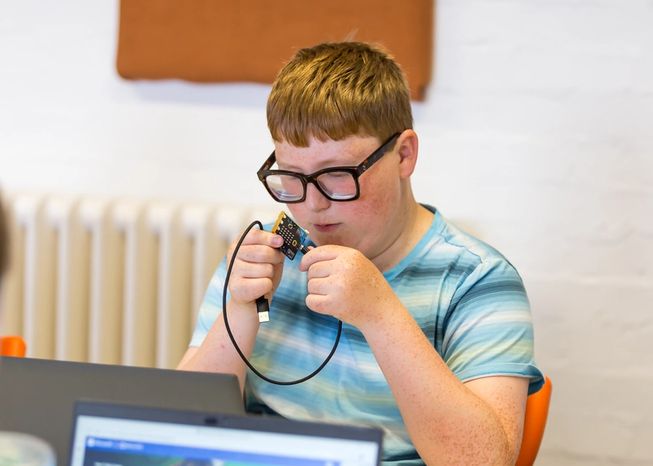
This activity is for screen reader users new to the BBC micro:bit V2. It is designed to support tactile exploration of the components on the micro:bit and familiarity with orientating the device.
What you need
- micro:bit V2
- 50cm to 1m long USB A to micro USB connector cable (the additional length to the standard 0.3m cable helps with freedom of movement)
- Braille A and B button labels for the micro:bit
Preparation
Print Braille A and B button labels using a braille typewriter or hand-held label embosser.
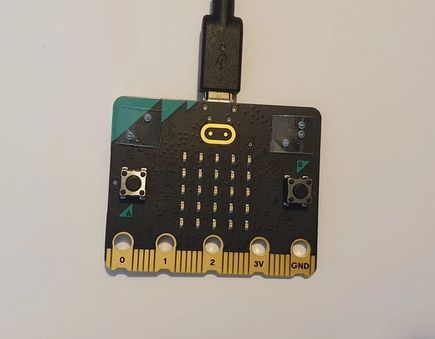
Add Braille A and B button labels to the micro:bit. Leave 4-5mm above each button, and stick the labels on the BBC micro:bit above the A button on the left and B button on the right.
Attach the cable to the micro:bit with the micro USB connector to assist with orientation. For now, do not connect the USB A connector to a computer.
Students can use the A and B braille labels to find the A and B buttons on the micro:bit.
Text description of the micro:bit
Transcript
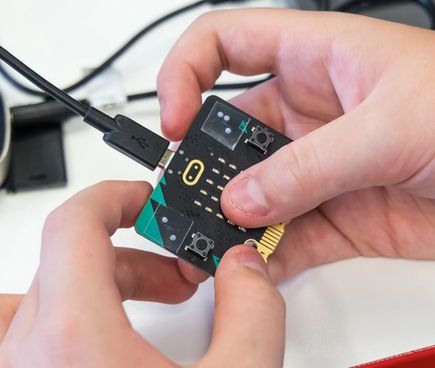
The micro:bit is a tiny computer. Your micro:bit has a cable attached at the top. You can explore the micro:bit by touching it.
On the front it has two input buttons, A and B, that you can press to make things happen. The buttons have braille labels above them.
The micro:bit also has a square display made from 25 red LEDs (pronounced L E D), in a grid that can be turned on or off.
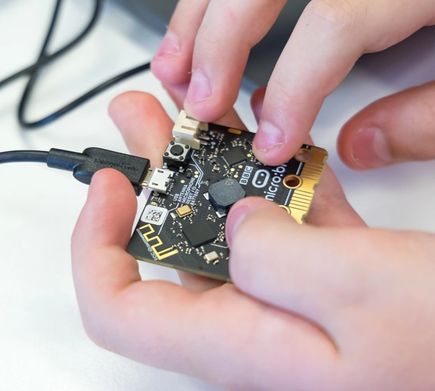
Flip your micro:bit over, keeping the cable at the top. On the back of the micro:bit, in the centre, there is an octagonal speaker that can play music and sounds.
The micro:bit has sensors so it can detect movement, light, temperature, sound, magnetic fields and touch.
To make the micro:bit work you have to write a computer program to tell it what to do. On the back of the micro:bit to the right of the cable connector there is a reset button which restarts the program.
Additional resources
You can use the micro:bit tactile diagram to explore the device in detail.
A more detailed full text tour of the micro:bit is available for students who would like more information.