Step 1: Make it
What is it?
Use your micro:bit with two crocodile clip leads to investigate if a material conducts electricity - a simple way to carry out a classic science experiment!
How to use it
- Transfer the code below to your micro:bit, or watch the coding video above if you want to create the code yourself.
- At the bottom of a micro:bit are five large pins. When you connect pin 1 and the GND or ground pin with a crocodile clip lead, it completes an electrical circuit.
- Safety note - never connect the GND and 3V pins directly together or you may damage your micro:bit.
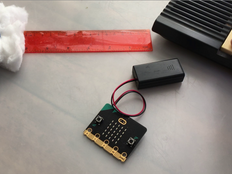
- If you attach two crocodile clip leads, one to pin 1 and one to the GND pin, you can put a material such as silver foil or cling film between the ends of the two leads to test if the material is conductive or an insulator.
How it works
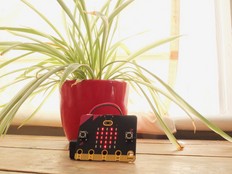
- The project uses selection. If an electrical circuit is made (because the material conducts) then the micro:bit will show a heart on its LED display and play the note Middle C.
- Else, if a circuit is not made, the micro:bit will clear its LED display and a note will not play - the micro:bit is instructed to play a note at a frequency of 0Hz.
- The program uses a forever or infinite loop to keep on testing until you disconnect your micro:bit from a power supply.
What you need
- micro:bit (or MakeCode simulator)
- MakeCode editor
- battery pack (optional but recommended)
- our pins introduction video may be useful
You may like
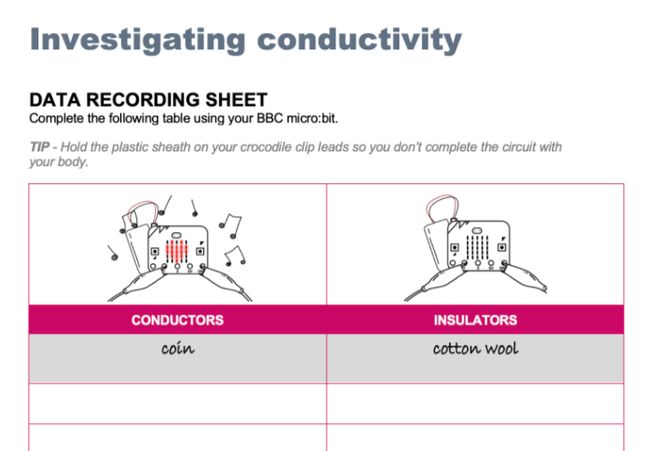
The Conductivity tester recording sheet can be used to record which materials conduct and which do not in a classroom or coding club.

Step 2: Code it
Step 3: Improve it
- Adjust the code to show a different icon or play a different sound if the material is conductive.
- Try out a wide range of materials with your conductivity tester such as pencil graphite, PlayDoh, and dry and damp tissue paper.
- It can be fun to use a human being as the test material! Simply hold the crocodile clip leads in both hands, or form a human chain.
This content is published under a Creative Commons Attribution-ShareAlike 4.0 International (CC BY-SA 4.0) licence.


