Passo 1: Faz tu mesmo
O que é isto?
A nightlight that lights up your BBC micro:bit’s LED display in the dark.
Introdução
Guia do código
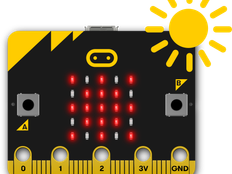
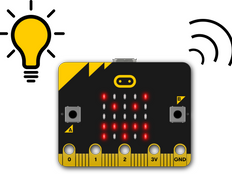
This project uses the micro:bit’s LEDs as a light sensor input to make a light that switches on automatically when it gets dark.
The micro:bit’s light sensor measures light in a range from 0 (very dark) to 255 (very bright).
Como é que funciona
- An infinite loop in the code keeps the micro:bit checking light levels.
- It uses logic to decide whether to turn the LEDs on or off. A conditional instruction (if… then… else) makes the decision to turn the LED lights on or off.
- If the light level falls below 100, then it lights up the LEDs on the micro:bit’s display. Else (otherwise), it clears the screen to turn the LED lights off.
- Test it out by covering the display or shining a light on it, and see if the LEDs light up when it’s dark.
- You may need to change the 100 number depending on the light levels around you. Larger numbers will make the light come on more easily. Smaller numbers will make the light only come on when it’s very dark.
Do que é que precisas
- micro:bit (ou simulador MakeCode)
- Editor MakeCode ou Python
- Suporte de pilhas (opcional)
- uma fonte de luz e algo com que cobrir o micro:bit
Passo 2: Cria o teu código
Passo 3: Melhora-o
- Altera a imagem para mostrar uma lua ou uma estrela quando escurecer.
- Prende o micro:bit ao teu saco ou à roupa para usá-lo como uma luz de segurança adicional ao andares a pé ou de bicicleta – será que consegues pô-lo a piscar para dar mais nas vistas?
- Try this MakeCode project that makes the LED display get lighter and darker depending on the amount of light falling on the micro:bit. Onde é que já viste coisas a reagir à luz desta maneira?
This content is published under a Creative Commons Attribution-ShareAlike 4.0 International (CC BY-SA 4.0) licence.


