Step 1: Make it
What is it?
A nightlight that lights up your BBC micro:bit’s LED display in the dark.
Introduction
Coding guide
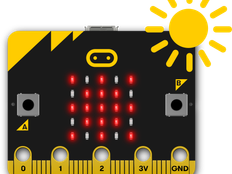
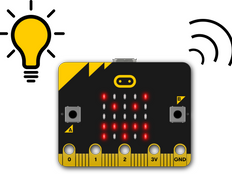
This project uses the micro:bit’s LEDs as a light sensor input to make a light that switches on automatically when it gets dark.
The micro:bit’s light sensor measures light in a range from 0 (very dark) to 255 (very bright).
How it works
- An infinite loop in the code keeps the micro:bit checking light levels.
- It uses logic to decide whether to turn the LEDs on or off. A conditional instruction (if… then… else) makes the decision to turn the LED lights on or off.
- If the light level falls below 100, then it lights up the LEDs on the micro:bit’s display. Else (otherwise), it clears the screen to turn the LED lights off.
- Test it out by covering the display or shining a light on it, and see if the LEDs light up when it’s dark.
- You may need to change the 100 number depending on the light levels around you. Larger numbers will make the light come on more easily. Smaller numbers will make the light only come on when it’s very dark.
What you need
- micro:bit (or MakeCode simulator)
- MakeCode or Python editor
- battery pack (optional)
- a source of light and something to cover the micro:bit with
Step 2: Code it
Step 3: Improve it
- Change the image to show a moon or star when it gets dark.
- Attach the micro:bit to your bag or clothing to use this as an additional safety light when walking or cycling – can you make it flash to stand out more?
- Try this MakeCode project that makes the LED display get lighter and darker depending on the amount of light falling on the micro:bit. Where else have you seen things that react to light in this way?
This content is published under a Creative Commons Attribution-ShareAlike 4.0 International (CC BY-SA 4.0) licence.


