Step 1: Make it
What is it?
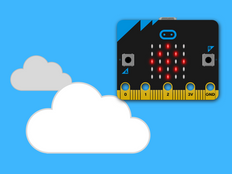
Use your micro:bit to tell the world how you’re feeling.
These two videos show you what you'll make and how to code it:
Introduction
Coding guide
How it works
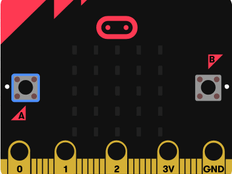
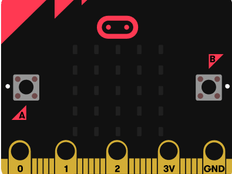
- The micro:bit has two input buttons on the front you can use to make things happen.
- When you press input button A the program reacts by showing a happy face image on the LED display output.
- Pressing button B makes a sad face appear.
What you need
- micro:bit (or MakeCode simulator)
- MakeCode or Python editor
- battery pack (optional)
Step 2: Code it
Step 3: Improve it
- Try other emotion images such as ASLEEP, CONFUSED or MEH.
- Design your own 'emoticons' using the LED display.
- Use the badge to show if you need help or make class voting badges with ticks or crosses.
- Design a way of wearing your micro:bit badge using thread, or tape. (Don't use safety pins as the metal could damage your micro:bit.)
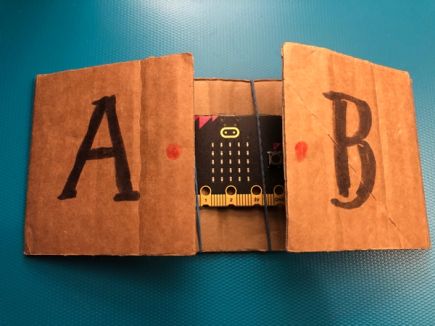
- Make the project more accessible by adding cardboard to make the buttons easier to press.