Purpose of this guide
This guide is for teachers and professionals who work with students who have physical disabilities affecting fine motor skills or mobility. It highlights some common challenges these students may face and suggests adaptations and practical advice.
There are separate guides focusing on working with students with visual impairments and with deafness and hearing loss.
We welcome contributions to help us cover more scenarios or solutions. Send your thoughts, ideas, and comments to us at accessibility@microbit.org. We are hoping the community will help ensure this guide is accurate and stays relevant.
Common challenges
This section lists common challenges faced by students with motor disabilities when using the BBC micro:bit. Each challenge links to suggested workarounds detailed in the guidance section.
Pressing buttons A, B, reset, the touch sensor, or using gestures such as shake
Pressing buttons A, B, reset, the touch sensor, or using gestures such as shake
Projects that involve walking (or similar)
Projects that involve walking (or similar)
Using buttons to pair the micro:bit via Bluetooth
Using buttons to pair the micro:bit via Bluetooth
Coding using a mouse or alternative input
Coding using a mouse or alternative input
Connecting cables
Connecting cables
Using crocodile (alligator) clips
Using crocodile (alligator) clips
Adding accessories/external components
Adding accessories/external components
Fatigue and motivation
Fatigue and motivation
Saliva getting on the micro:bit
Saliva getting on the micro:bit
Specific guidance
Physical hardware adaptations
Including:
- Mounting the micro:bit
- Connecting switches to the micro:bit
- Alternatives to alligator clips
- Modular system for building circuits
Mounting the micro:bit
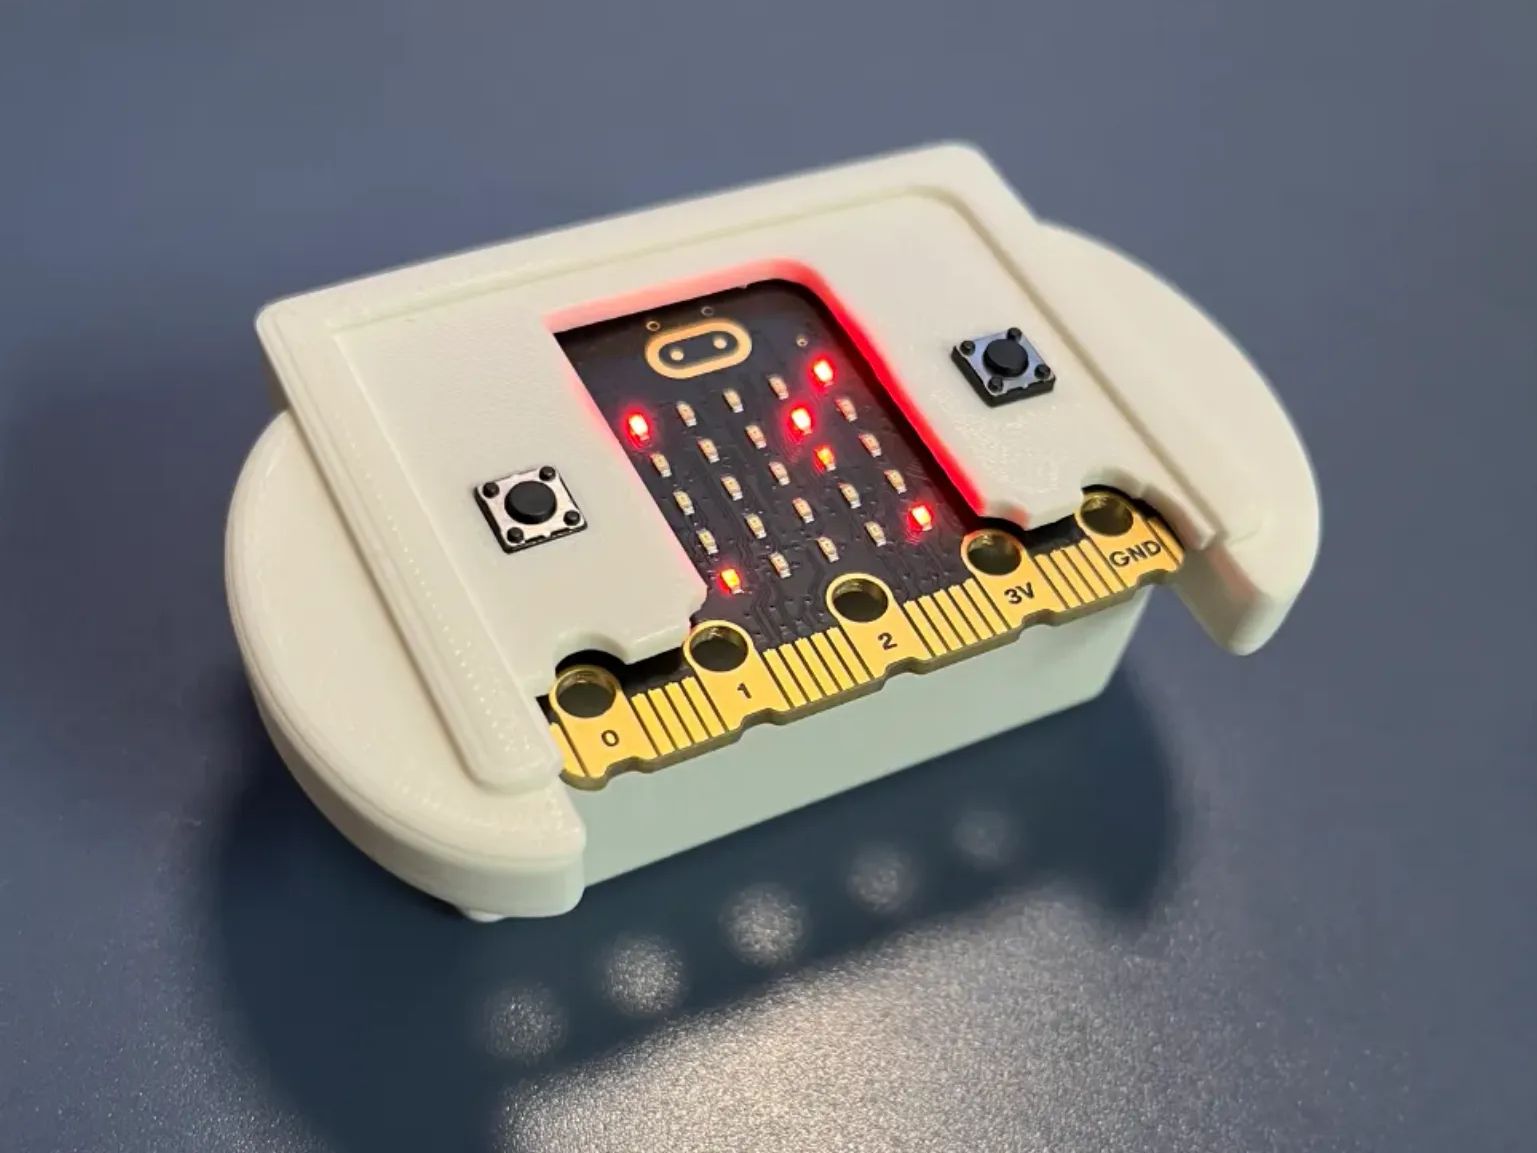
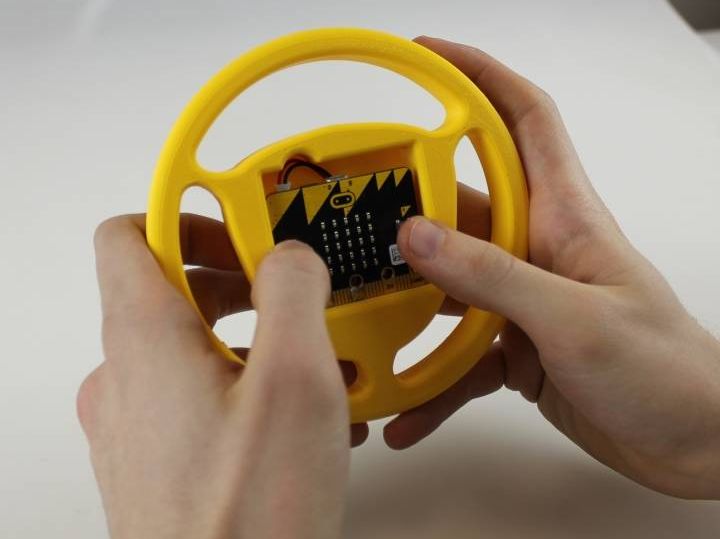
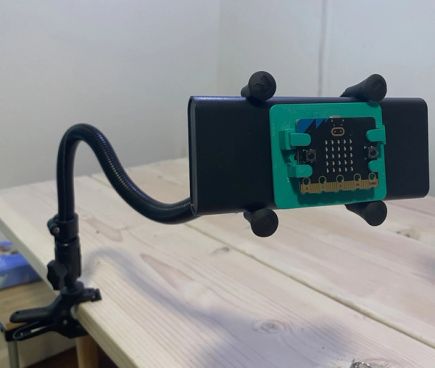
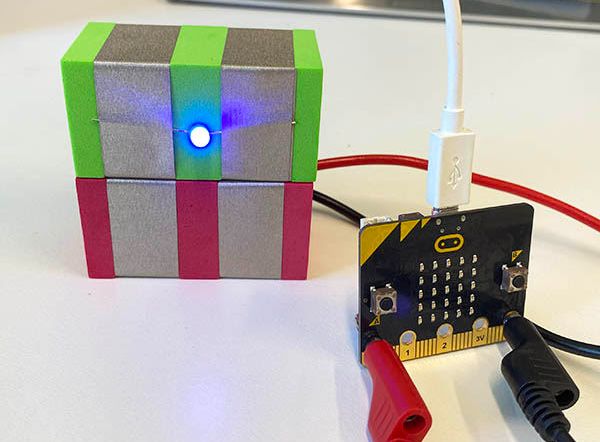
Some students with physical disabilities may benefit from a way to mount the micro:bit so that they can operate it one handed or with less control, for example to press buttons without also needing to hold the micro:bit still, or tilt the micro:bit on a pivoting mount. There are various 3D-printed cases that have been created and shared by the micro:bit community, available on sites such as Printables.com or MyMiniFactory.

A gooseneck mount with a universal adaptor or custom clamp can be helpful for clamping the micro:bit to a table or wheelchair, making it easier to access and operate.
Loreto Dumitrescu
It is also possible to buy a mountable micro:bit case to attach to a DIY base, for example to give a student a larger object to hold and shake. When sourcing a case, make sure it is suitable for the correct version of the micro:bit that you are working with (micro:bit V1 or V2) since the dimensions differ slightly. If you are not sure, see the guidance at which version of micro:bit do I have?.
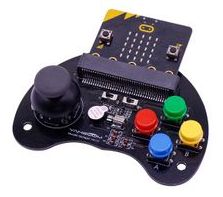
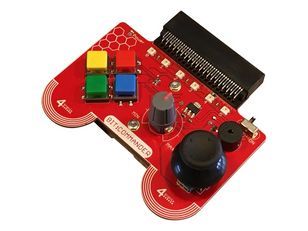
There are also a number of micro:bit game controllers available which may provide an easier way to hold the micro:bit as well as exposing different sized buttons to press.
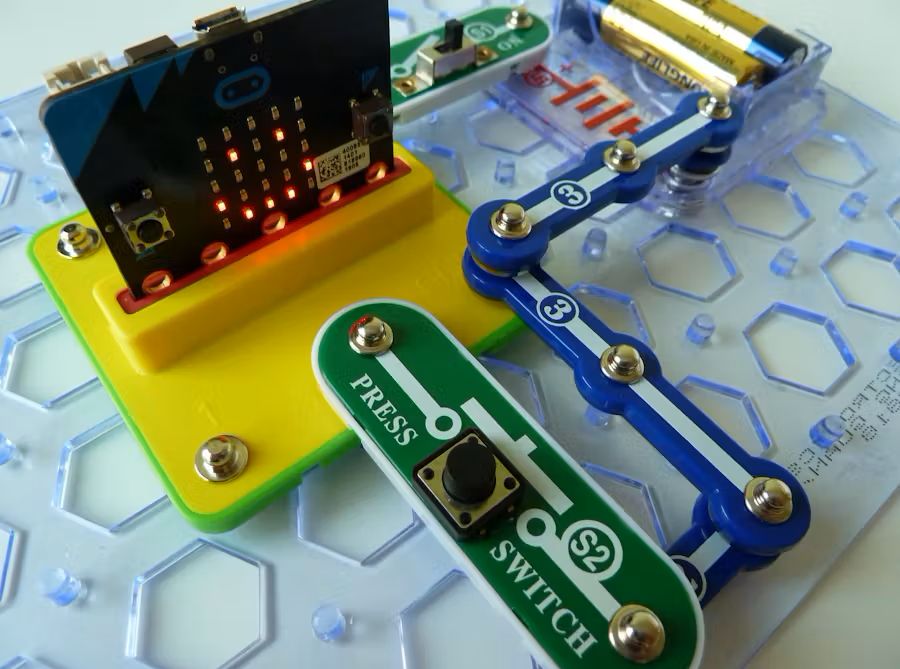
Connecting switches to the micro:bit
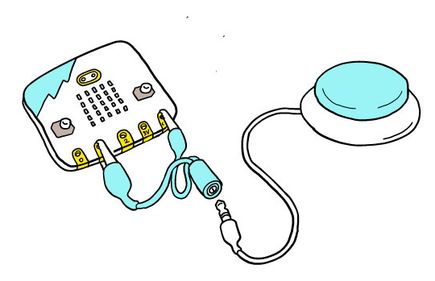
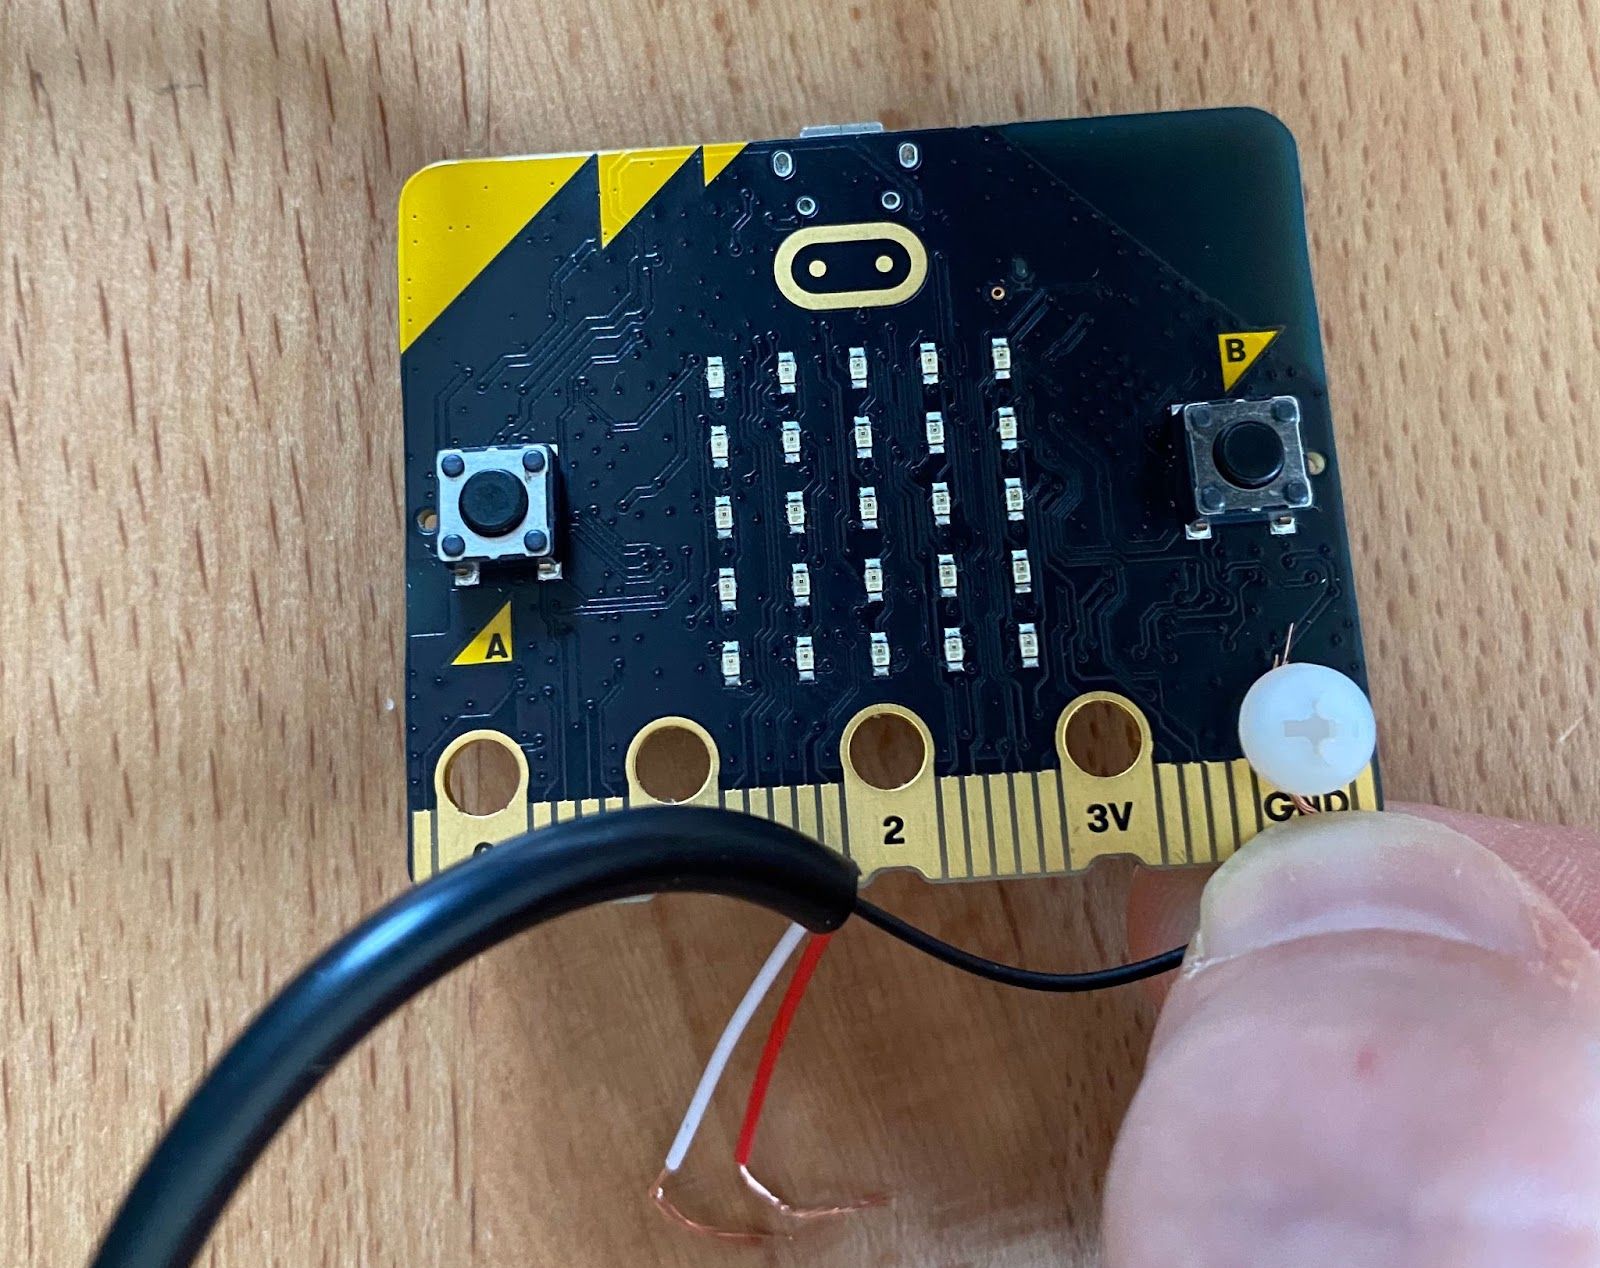
Some students with physical disabilities may already use switches to communicate and/or control their devices.
Many such switches can be connected to a micro:bit to be used as an alternative input (instead of button A and B, for example). For more information, see this guide on using switches with the micro:bit which details different ways to connect switches, and a range of options for cheap DIY switches.
Ross Atkin Associates
Alternatives to alligator clips
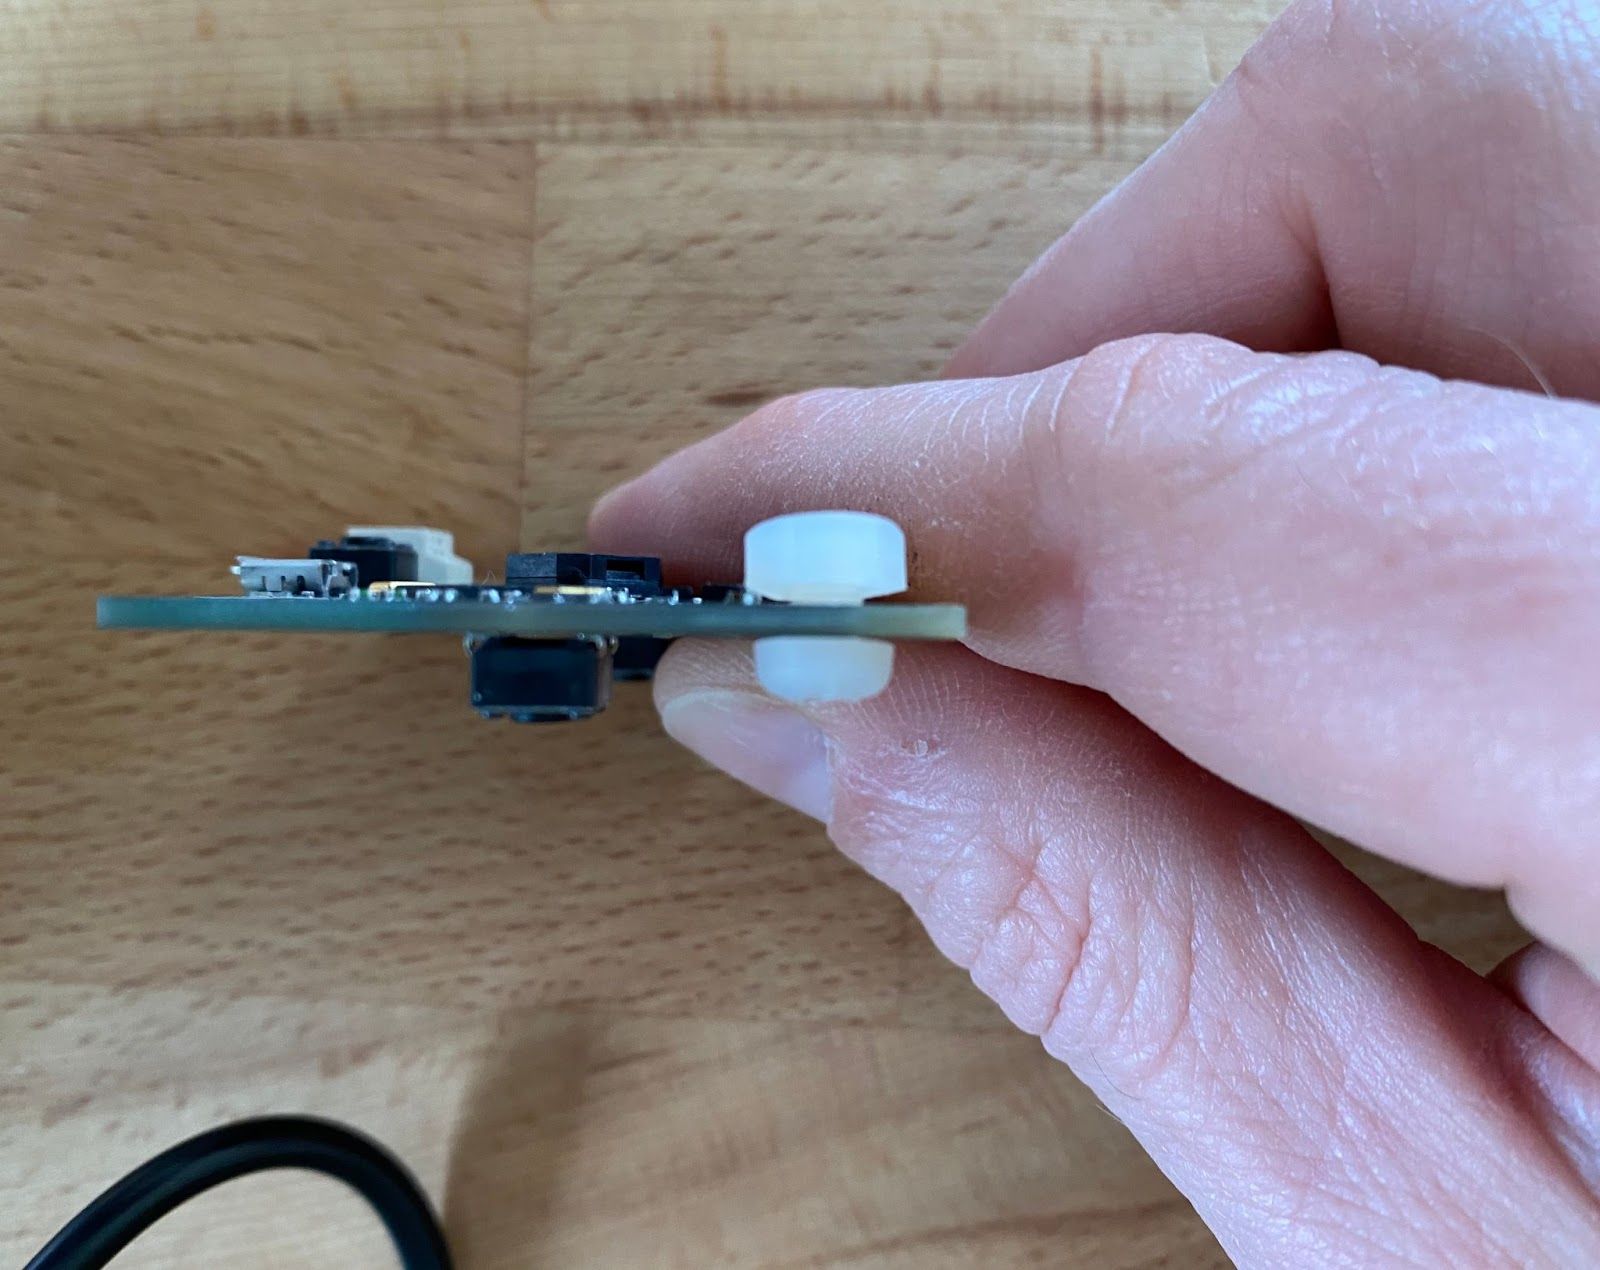
The pins of the micro:bit fit either alligator (crocodile) clips, or 4mm banana plugs (into the holes). Banana plugs may require more strength to connect, but less fine motor control than crocodile clips, so may be helpful for some students.
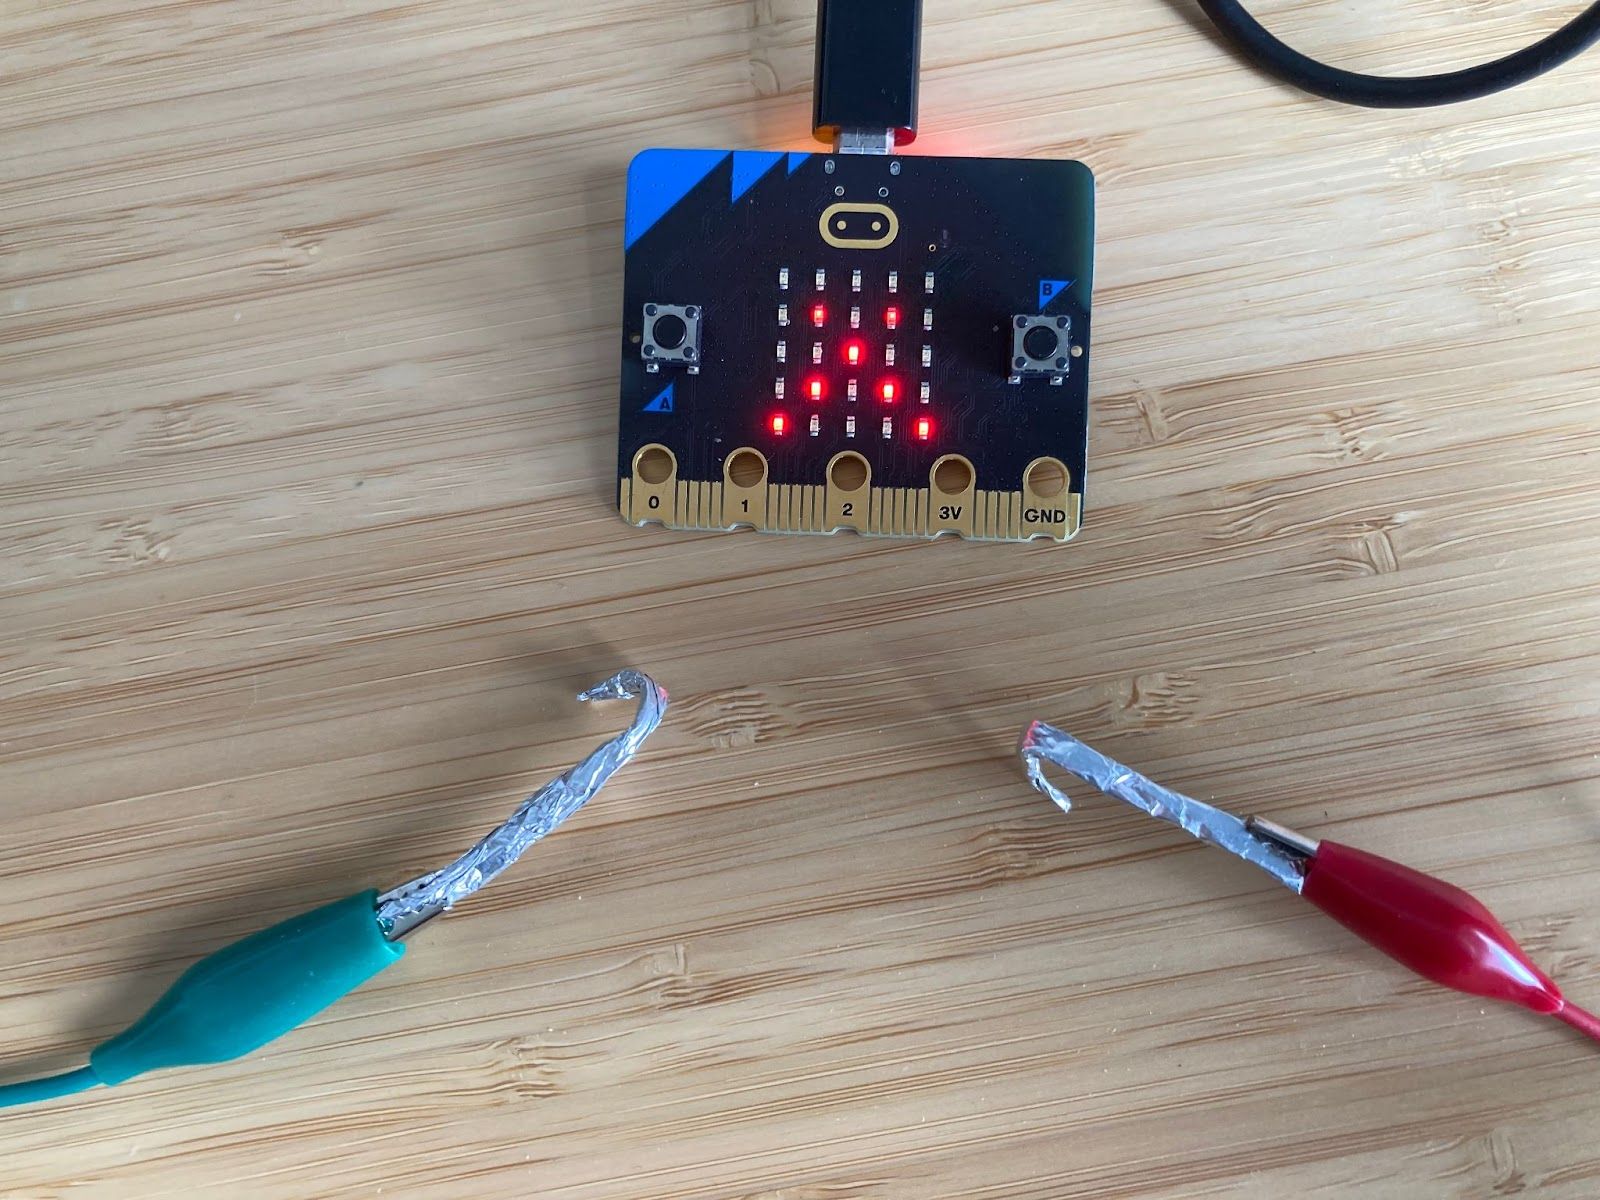
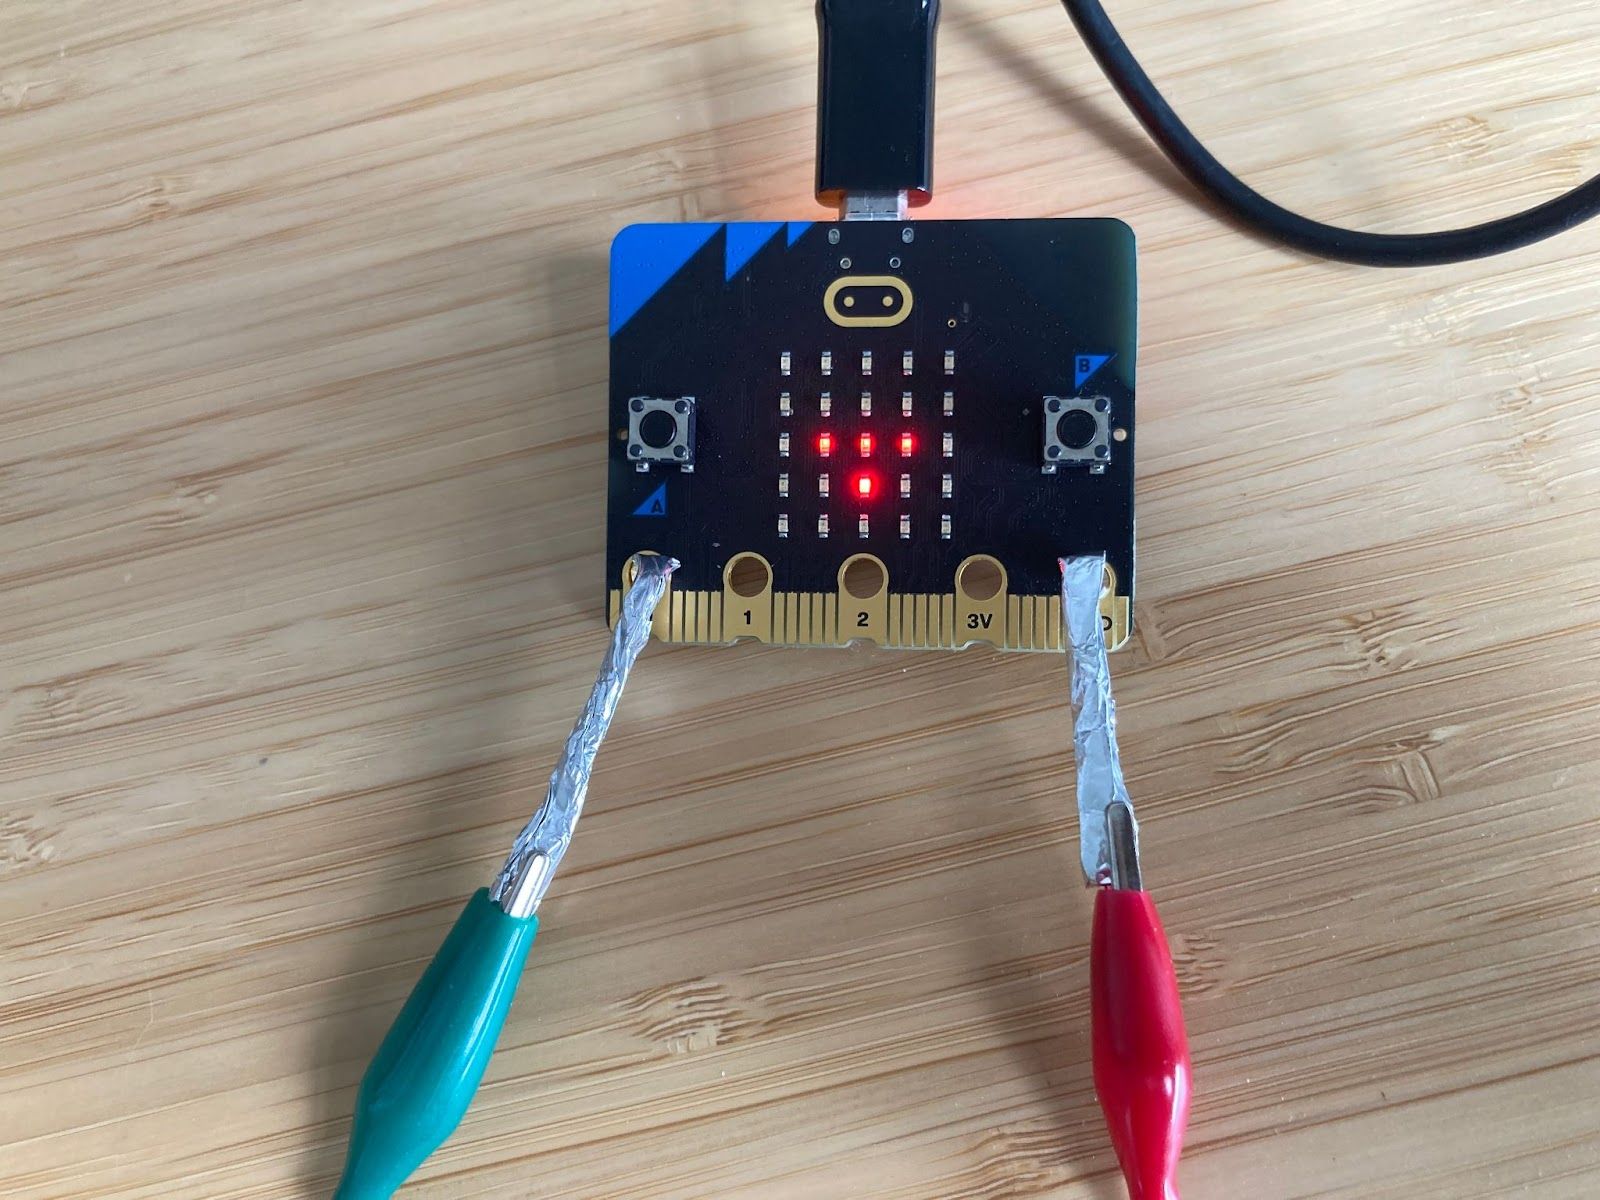
Instead of using bespoke adaptors or crocodile clips, which can cause a dexterity challenge, it is often possible to improvise connections and electrical circuits by getting creative with aluminium foil. For example, instead of connecting a crocodile clip to a micro:bit’s pin input, you might create a hook shape from a roll of foil that you supply pre-attached to crocodile clips, allowing students to connect it to the appropriate pins, or join to other foil components.
The holes for each pin are also the correct size to accept an M4 bolt, which allows you to connect wires by hooking them around a bolt and making sure they are touching the copper pads.
Bill Siever
Bill Siever
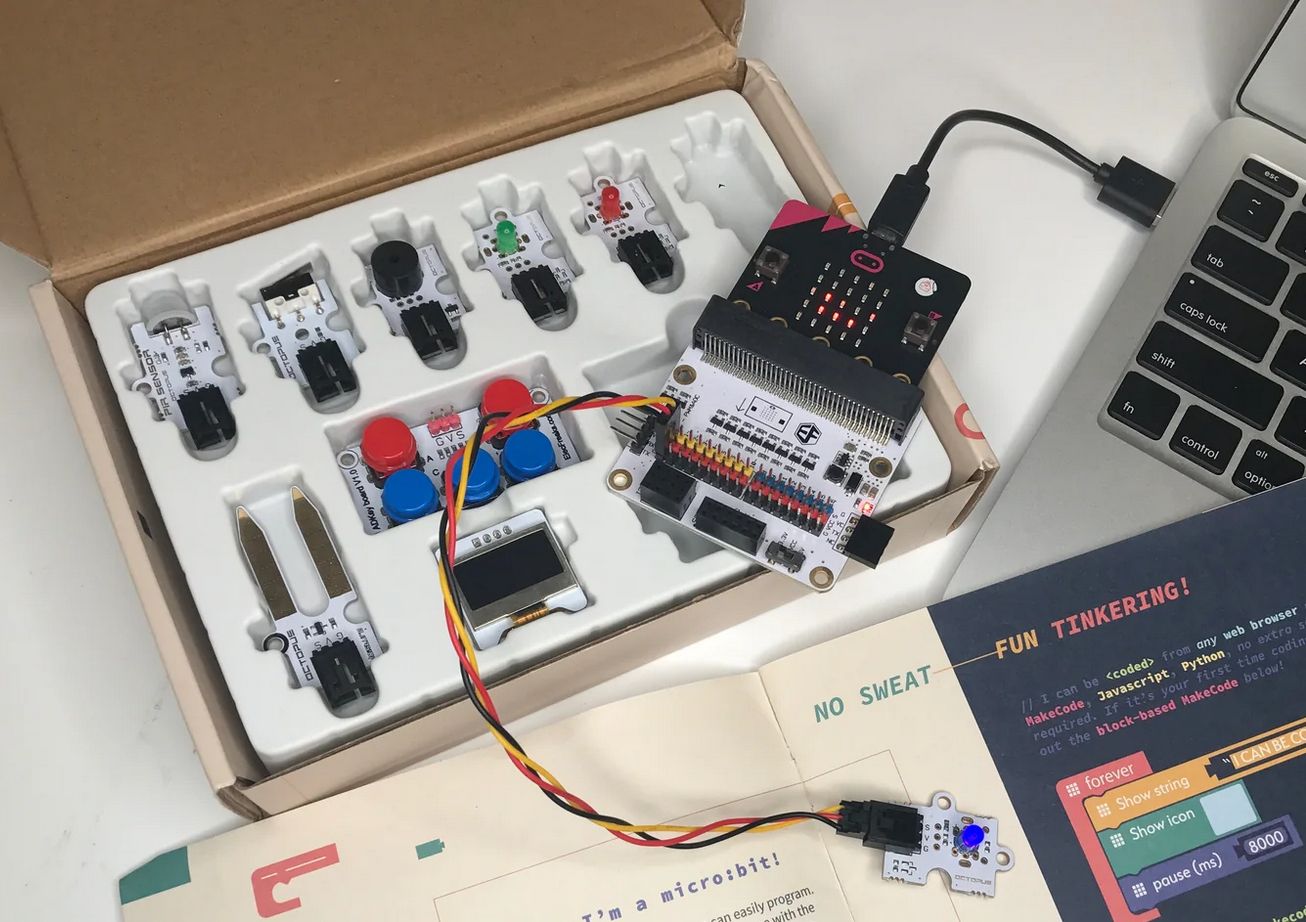
Modular systems for building circuits
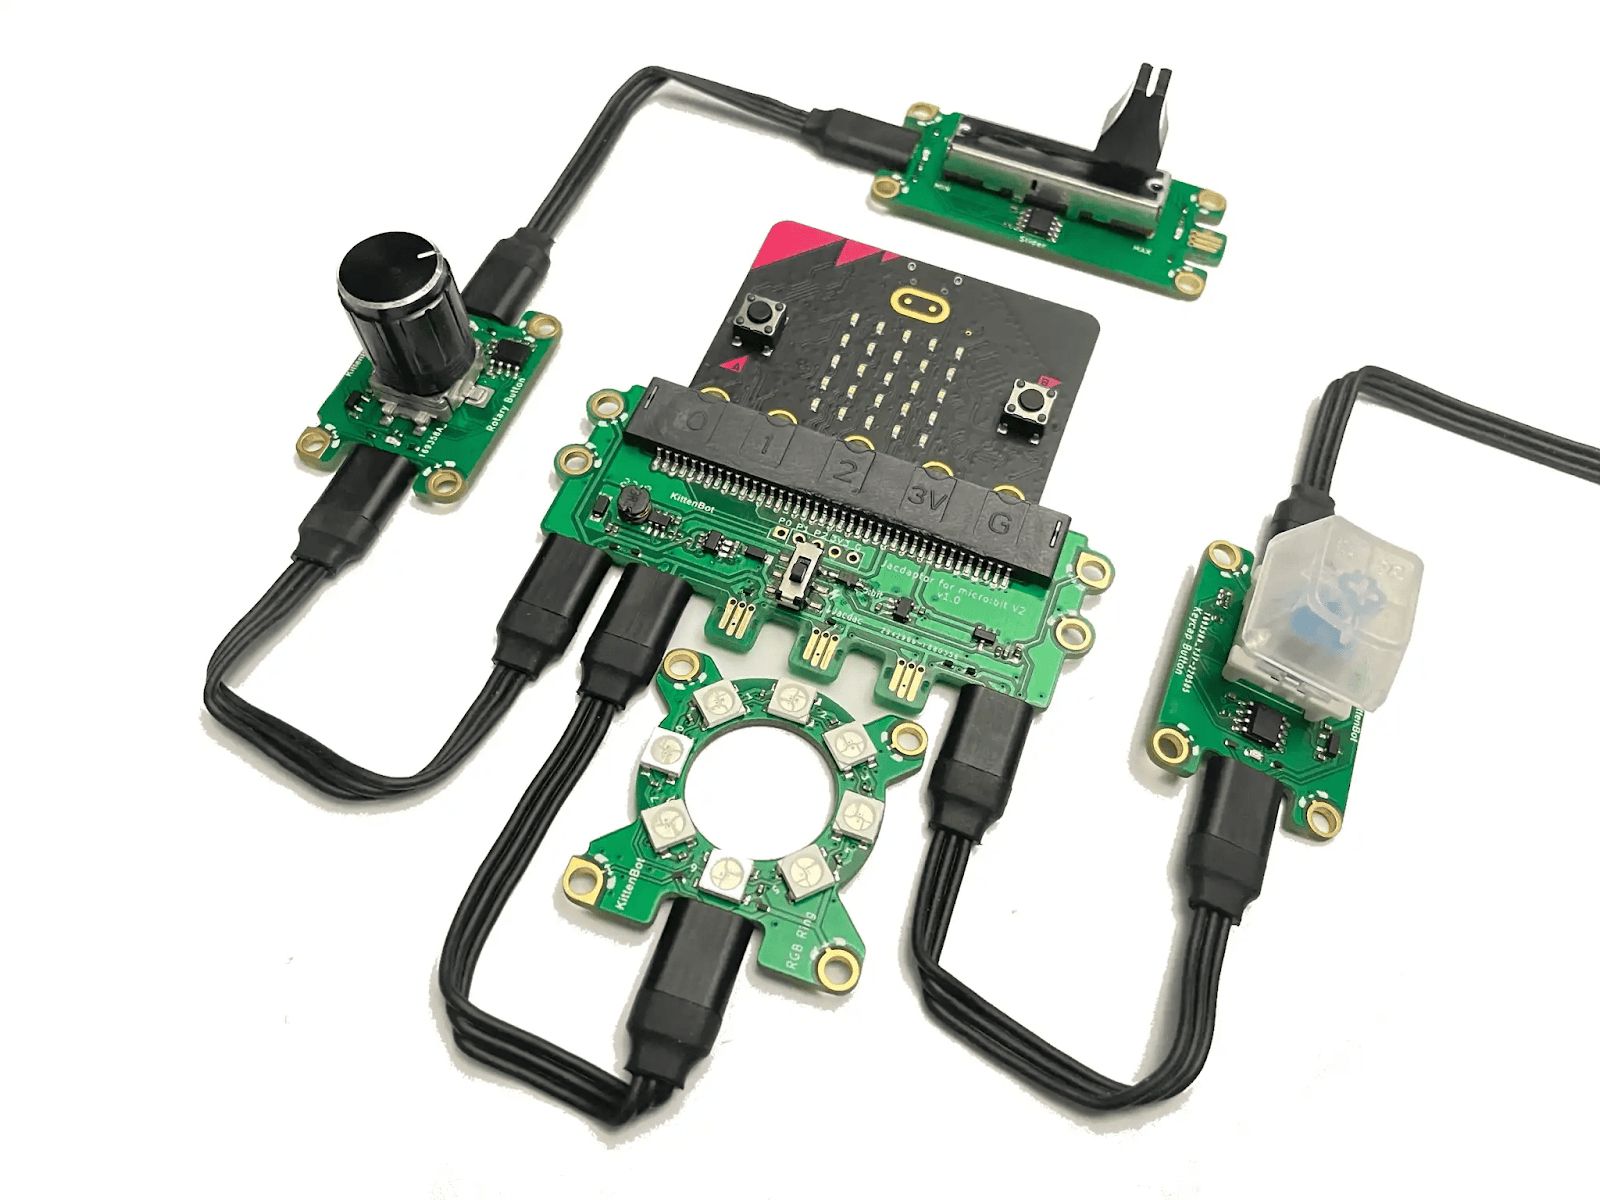
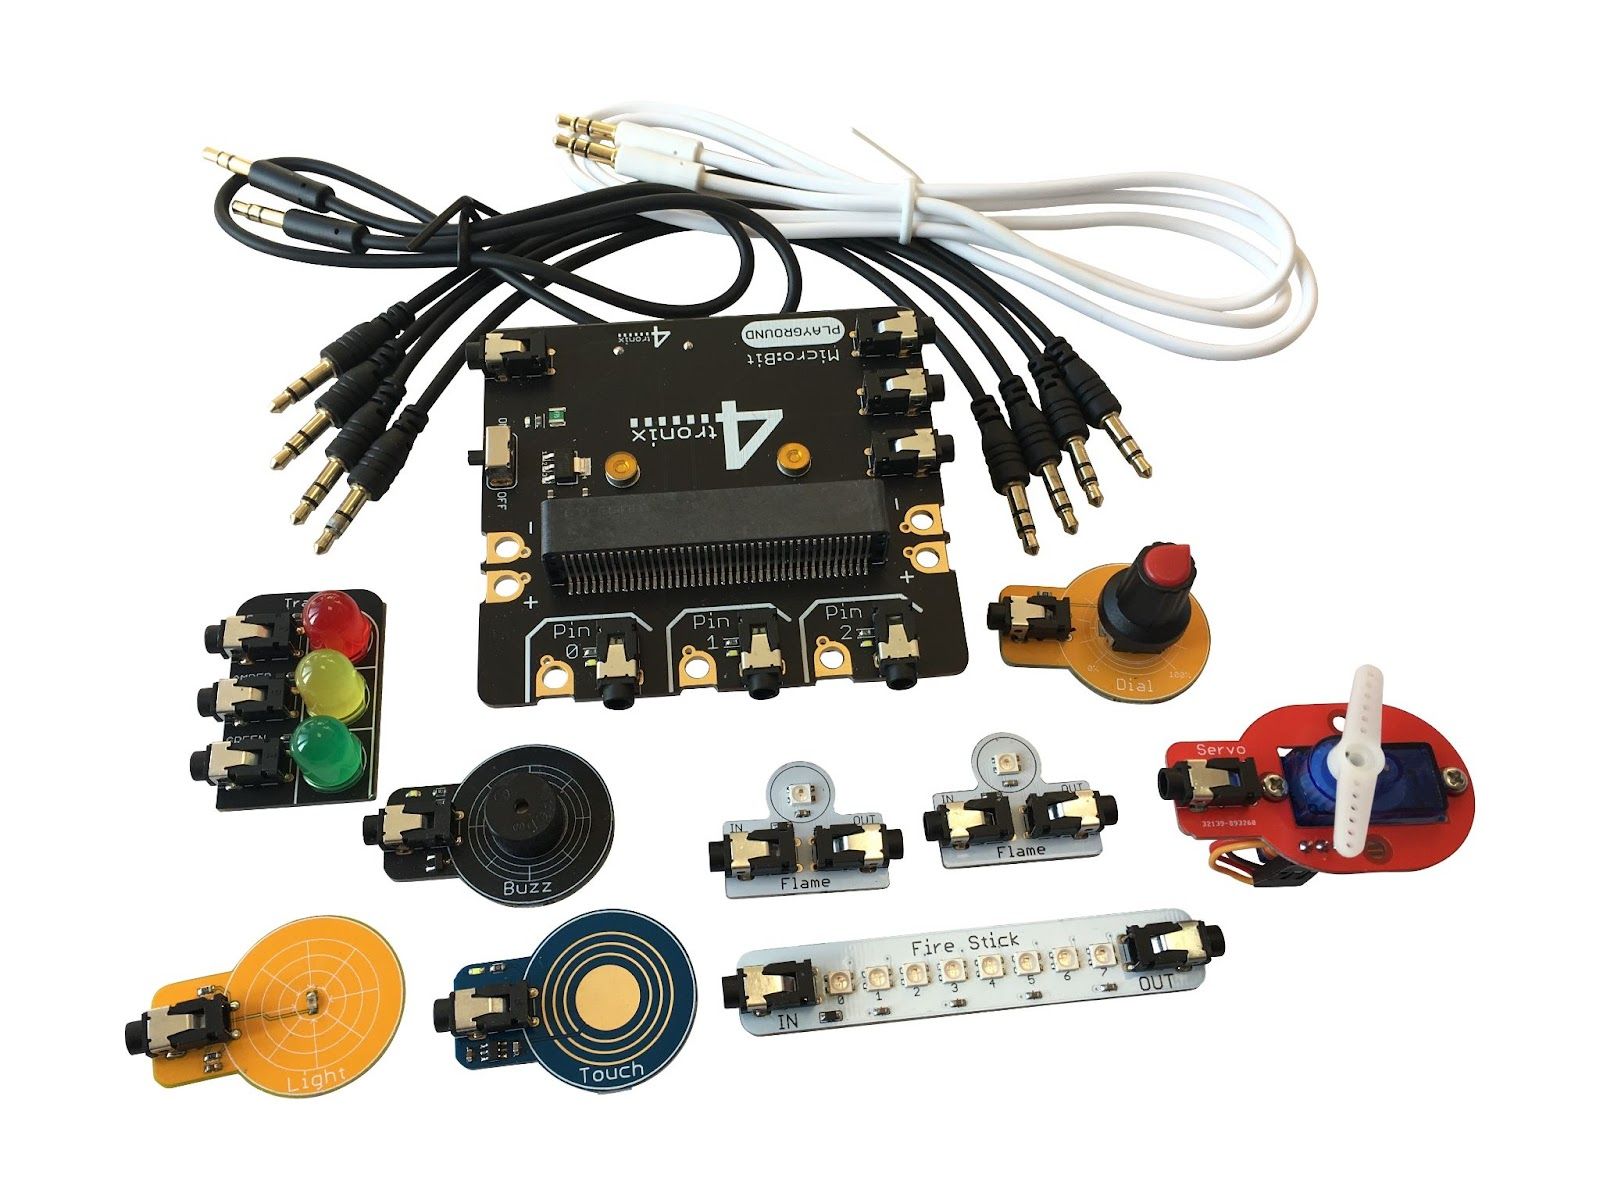
You can extend the micro:bit functionality using a wide range of accessories. If you are working with students with dexterity impairments, it is important to choose accessories that minimise connections requiring good hand dexterity. For example, Jacdac, PlayGround, micro:bit Tinker Kit, snap:bit and TapeBlocks feature either larger components and circuits, or simplified standard connectors to allow students to build complex projects with various external components without needing to work directly with wires, crocodile clips or jumper wires, which all require good hand dexterity.
Connections and data transfer
Including:
- Download programs to your micro:bit over Bluetooth
- Pair the micro:bit without holding down multiple buttons
- Minimise unplugging and reattaching cables
- Using adapters to help with USB and battery connections
Download programs to your micro:bit over Bluetooth
It is possible to avoid using the USB connection by downloading code using a Bluetooth connection, if you are using an Android device or Apple iPad/iPhone. This is detailed in the Transfer code to the micro:bit user guide.
There was previously a MakeCode experiment that added support for Bluetooth flashing from PC, however this is no longer functional as of the MakeCode 2020 release. More discussion can be found at Bluetooth Download feature.
Pair the micro:bit without holding down multiple buttons
You can use Bluetooth to download programs to the micro:bit on a smartphone or tablet (Android or Apple iOS).
In the past, the process of Bluetooth pairing required pressing buttons A and B simultaneously and then pressing reset to enter Bluetooth pairing mode.
It is now possible to enter pairing mode by pressing the reset button 3 times instead. If this is not working for you, first download any freshly created micro:bit program from MakeCode using a USB cable. You can use the simple program on our Reset the micro:bit page or one of your own. This program will contain the latest pairing process as part of the .hex file and will update your micro:bit to allow it to use the new method.
For more information about sending programs to the micro:bit using Bluetooth, see micro:bit iOS app: creating and sending programs on an Apple iPad or iPhone.
Minimise unplugging and reattaching cables
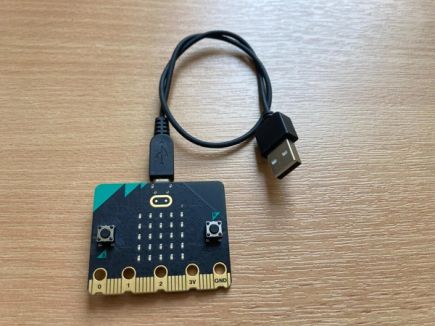
In a classroom setting, it can be useful to leave the USB cable permanently attached to the micro:bit, so students are only responsible for plugging in the larger USB-A end into the computer.
Battery packs are only required for projects where the micro:bit needs to be detached from the computer when in use, for example when used as a step counter or fitness tracker. When doing these projects, it may be easiest to provide the micro:bits with battery packs already attached for everyone at the start of the class.
Alternatively, some teachers prefer to instruct their students to remove the batteries from the battery pack rather than unplugging it from the micro:bit when they are finished with it. This way the JST cable can remain permanently attached.
The micro:bit V2 can be put into low power mode if you leave battery packs plugged in by holding down the reset button. This is useful when leaving micro:bits for a short time but it still uses some battery power so we do not recommend leaving them in low power mode when you pack them away for long periods.
Using adapters to help with USB and battery connections
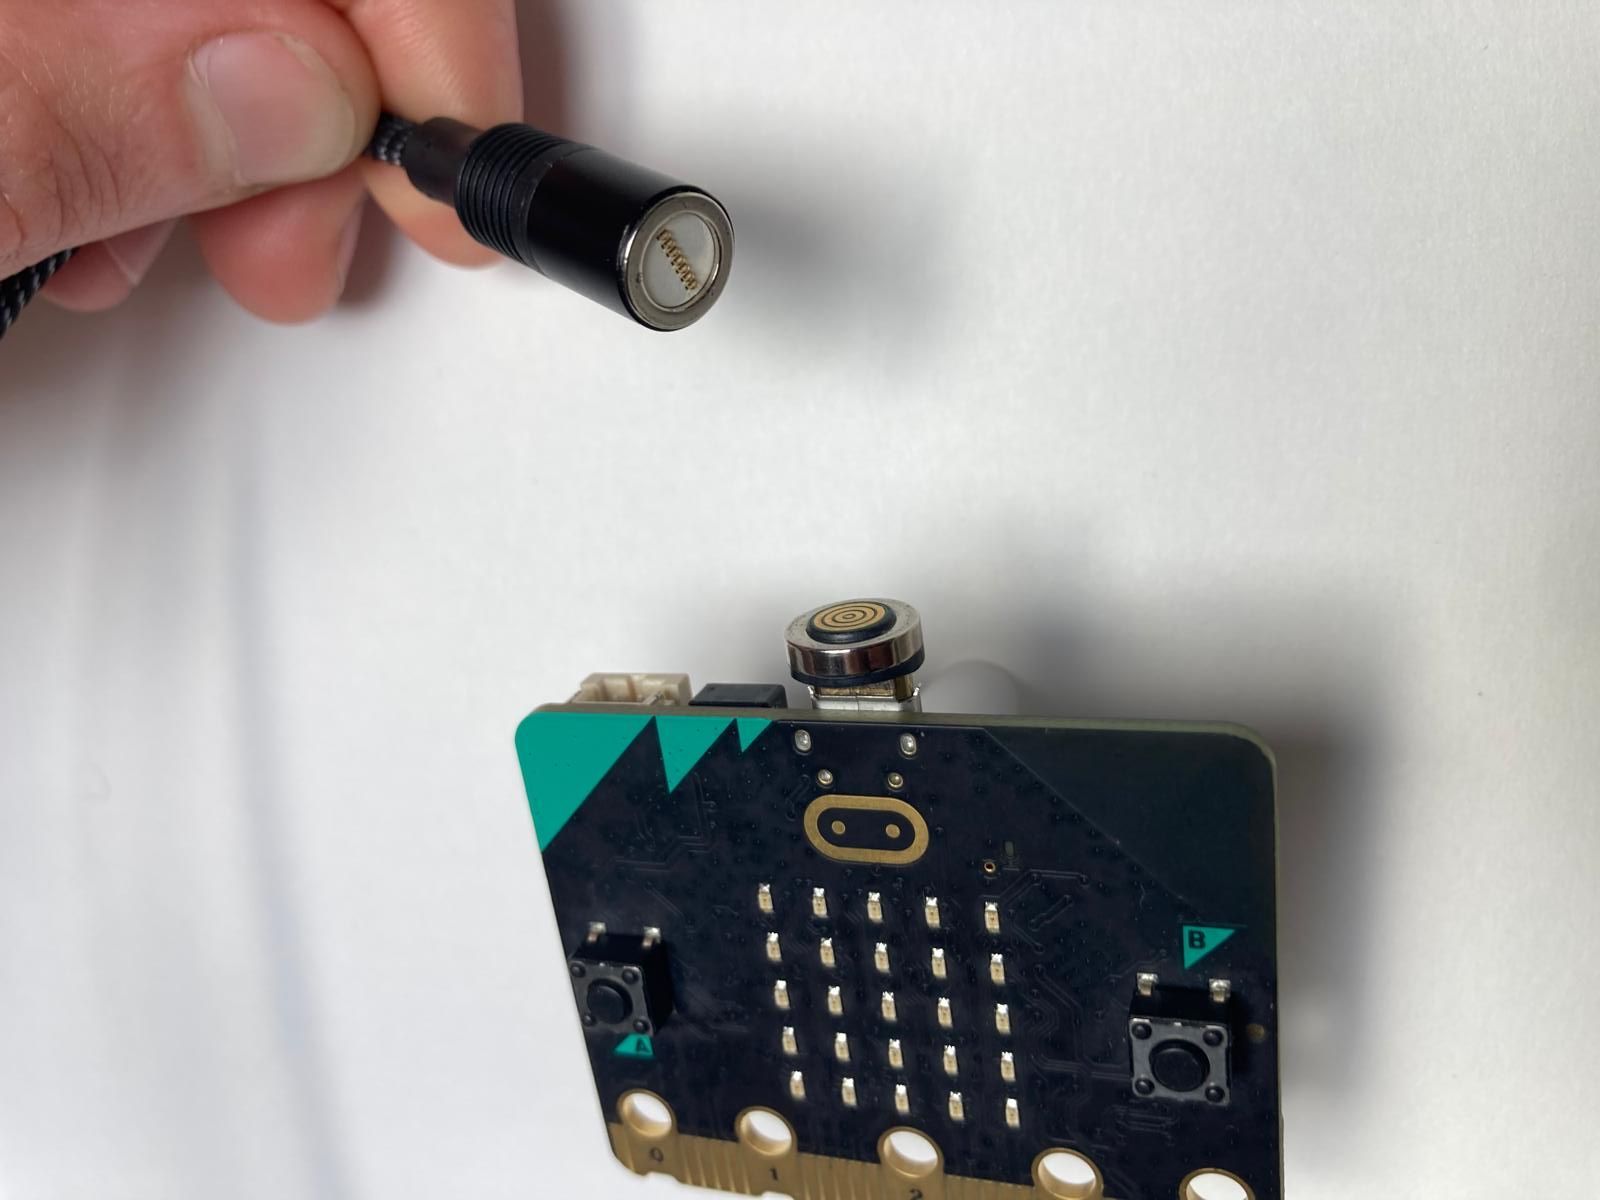
If a student finds it difficult to connect and disconnect the microUSB cable, and cannot use Bluetooth instead, they could use a magnetic USB data cable to make it easy to connect and disconnect the cable. The USB connector could remain permanently attached to their micro:bit, and then the cable easily snaps on and off with the magnetic connection. Make sure you choose a cable that includes a microUSB connector, and is sold as a “data” cable and not just suitable for charging. Note that this solution involves a small magnetic part, which may not be suitable in all settings and may interfere with projects that use the magnetometer.
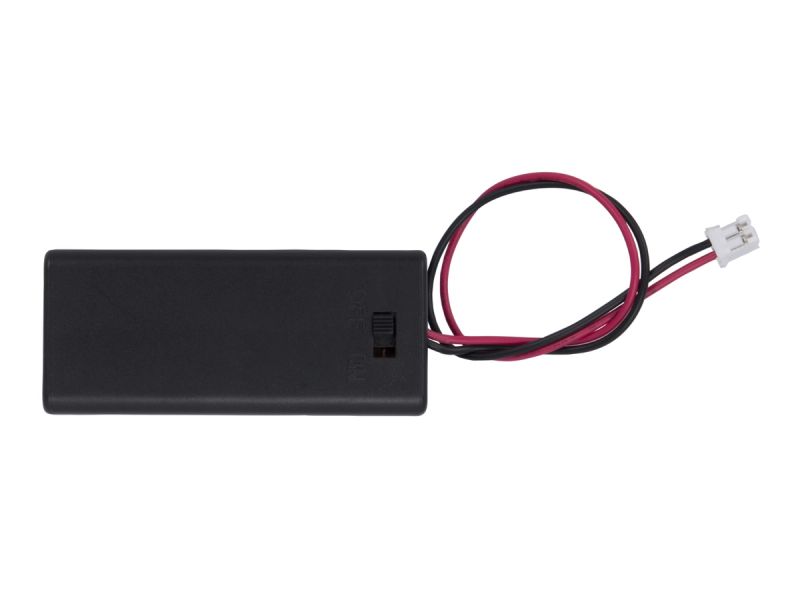
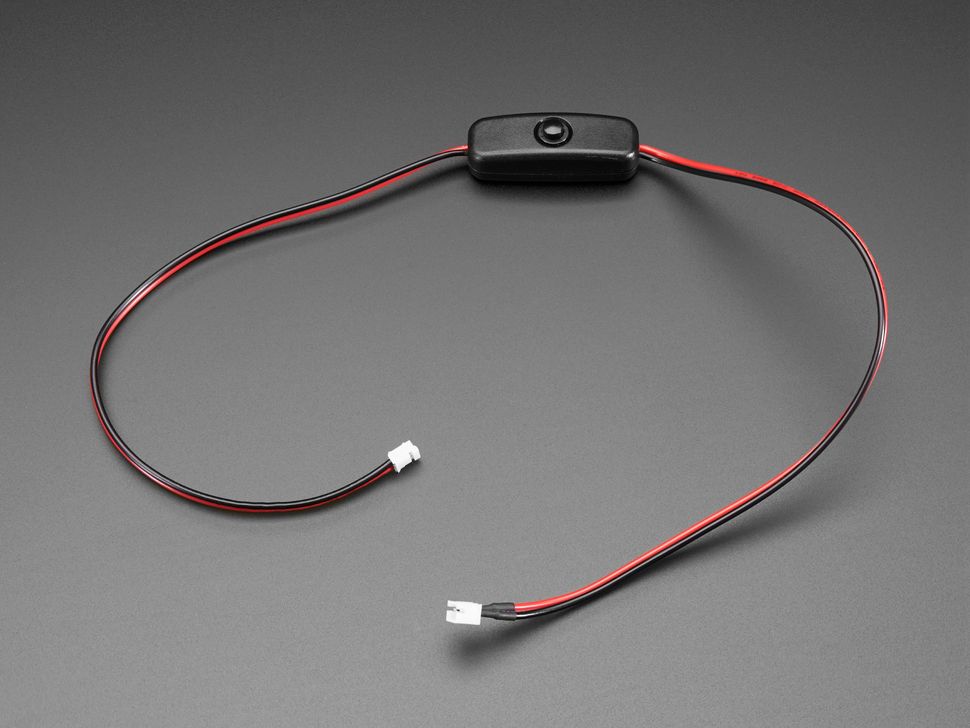
If connecting and disconnecting the battery pack is a challenge, you could either power the micro:bit directly from USB, buy a battery pack with an integrated switch or use a JST Extension Cable with On/Off Switch to keep the micro:bit permanently attached to your existing battery pack.
The micro:bit V2 can be put into low power mode if you leave battery packs plugged in by holding down the reset button. This is useful when leaving micro:bits for a short time but it still uses some battery power so we do not recommend leaving them in low power mode when you pack them away for long periods.
Software adaptations
Including:
- Tips to make click and drag easier
- Using MakeCode with touch controls
- Using keyboard controls with MakeCode
- Using keyboard controls with the Python Editor
- Using alternative inputs in projects, for example instead of button A, B or shake
- Modify project goals
Tips to make click and drag easier
Placing and moving blocks in MakeCode typically requires dragging blocks using a trackpad, mouse or touch controls. This can be challenging for some students.
Click and drag can be avoided entirely by using keyboard controls in MakeCode. But for students who prefer to use a mouse or pointer for some of their coding, this guide on click and drag outlines a variety of hardware, assistive settings and alternative approaches.
Using MakeCode with touch controls
For some students who struggle to use a keyboard mouse or trackpad, using a finger to drag blocks on a touch screen may be easier. MakeCode supports touch input on any device with a touchscreen, including Android tablets, Apple iPads, or Windows tablets.
See our instructions for getting started with coding on different devices for more details.
Some students may find a capacitive stylus helpful for more precise touchscreen control. The Sixth-Finger / Sixth-Toe Capacitive Stylus offers a 3D-printable bespoke option, while Touch Screen Accessibility: Low-Tech Adaptations and Stylus Hacks - Equip2Adapt demonstrates simple low-tech alternatives.
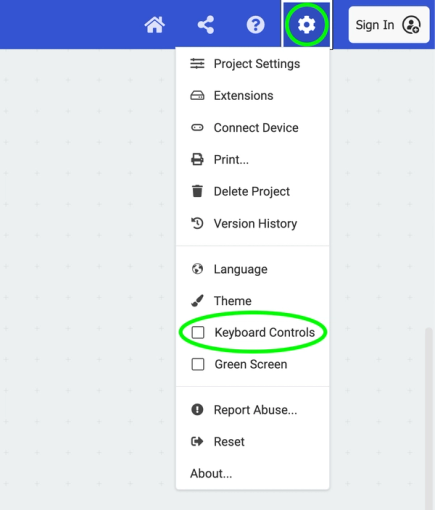
Using keyboard controls with MakeCode
As of MakeCode’s 2025 release, keyboard accessibility is available by turning on Keyboard Controls in the settings menu. We welcome feedback on this via our keyboard controls feedback form.
You can find more information about keyboard controls at Microsoft MakeCode accessibility support.
Using keyboard controls with the Python Editor
The micro:bit Python Editor is accessible using standard keyboard-based web navigation, for example you can use Tab to move around elements on the page. To use code snippets from the documentation reference pane in your code, select them using Tab and then press Enter to copy the code snippet.
The Python Editor also has various shortcuts to help quickly perform key actions, which are detailed in the Python Editor accessibility statement.
Using alternative inputs in projects, for example instead of button A, B or shake
If students find it difficult to press buttons A and B, or perform gestures like shake, the micro:bit offers many alternative input options that can be easily implemented by changing the event blocks in your project's code. Alternatives include using different gestures, the touch-sensitive logo, sound activation, or connecting external switches - allowing you to adapt any project to match individual students' capabilities.
Detailed instructions for swapping to an alternative input
Modify project goals
Some commonly used projects such as the step counter or movement data logger are designed for students who walk, and may need to be adapted for students who mobilise in a different way.
The teacher resource for the BBC micro:bit playground survey include suggestions on how to adapt activities for students who use a wheelchair or mobility aid in the data logging and analysis. Wheelchair users may also be interested in the flashing wheels and wheelchair distance logger projects.
Related links
Case studies - using a micro:bit for assistive applications
- Development of Dual Activities with Micro:Bit for Interventions in People with Cerebral Palsy - research project, using micro:bit to gamify therapy for children with cerebral palsy
- Give me a minute - indicating when eye tracker software is in use by Matt Oppenheim for students at Beaumont College
- Examples of using a flex sensor and hand shake as input to switch operated applications
- The above applications are written up in Devices Aid Speech for People with Disabilities - Circuit Cellar
- micro:bit LIVE 2021 | Using the micro:bit and Jacdac for accessibility
- Using the micro:bit to control switch access software | mattoppenheim
- PrintLab’s 3d printed switches made with a micro:bit
- Empowering Accessibility: Using the Micro:bit and 3D Design as Switch Interface
- Micro:bit: 2 Button Morse Typewriter
Other relevant examples
- Phrase bank to control a voice assistant for a girl with non-standard speech
- Sensory toy project and Sensory classroom lesson
- Flashing wheelchair light project
- Gesture-controlled Mouse Using Micro:bit
- Using machine learning to train a model for voice activation with a keyword
- Bluetooth HID extension allows a micro:bit V2 to act like a keyboard, mouse, media keys (for example, play, pause, volume up), or gamepad.
Bespoke hardware modifications
- USB-C charger for a Lipo Battery means the JST cable can be left in and the battery charged via USB-C.
- Use another micro:bit to perform 3 reset presses
Third party content
This document includes links to third party content. We have included these as examples of products or resources that may be useful. However, the Micro:bit Educational Foundation does not have any official link to these products.
Contribute your feedback
We welcome contributions to help us cover more scenarios or solutions. Send your thoughts, ideas, and comments to us at accessibility@microbit.org. We are hoping the community will help ensure this guide is accurate and stays relevant.