Skip to content

First lessons with MakeCode and the micro:bit

Unit of work

6 lessons

MakeCode

7-11 yrs

A sequence of six lessons that provide a pathway through six projects, ideal for getting started with the micro:bit. Students will develop their use of some core computing concepts through coding and making practical projects.

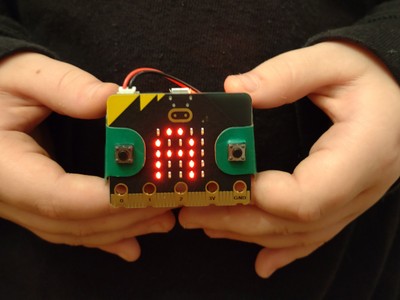
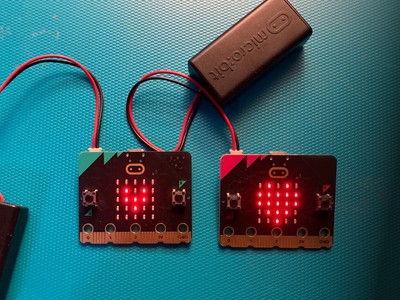
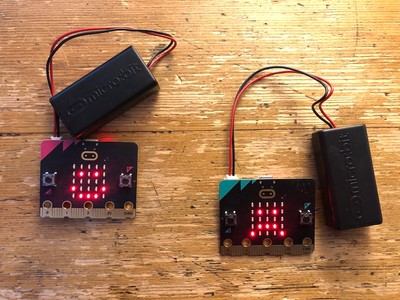
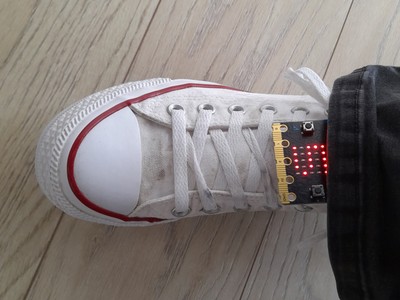
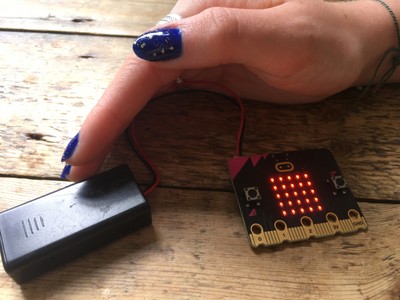
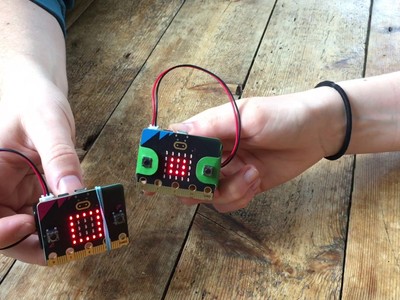
Projects include a name badge, animation, using inputs and outputs to make an emotion badge, using sensors to make step counters and nightlights, and finally combining skills from previous lessons to make a rock, paper, scissors game.

Computational thinking:

Algorithms

Computer systems:

Input/output

Sensors

Programming:

Iteration

Randomisation

Selection

Variables

Overall key learning

  • Gain practical skills for creating, testing, and transferring code to micro:bits.
  • Understand that computers need instructions in a sequence, also known as algorithms, and that these are written as programs in code, a language the computer can understand.
  • Learn how sequences and loops can be used to make animations and control programs.
  • Gain practical experience and understanding of inputs, outputs, and variables in real-world contexts.
  • Learn how logic (‘if…then’ instructions) and sensors combine to make a simple control system.
  • Combine skills and knowledge gained through the previous lessons to create computer simulations of real-world games of chance.
  • Evaluate what you have made.

Additional skills

Debugging, evaluation, modifying, prototyping.

Lesson 1: Name badge

Students create their first programs and transfer them to their micro:bits.

Key learning:

  • Understand the micro:bit is a tiny computer which needs instructions in code to make it work.
  • Understand that sets of instructions for computers in a sequence are also called algorithms or programs.
  • Use the MakeCode editor to create instructions in code that the micro:bit can understand and then transfer them to the micro:bit.
  • Know the micro:bit has an LED display output which it can use to show words (as well as numbers and pictures).

Computational thinking:

Algorithms

Computer systems:

Input/output

Programming:

Iteration

Lesson 1 details

Lesson 2: Beating heart

Create a simple animation to learn about sequence and simple loops.

Key learning:

  • Understand that sequence and timing is important when making an animation.
  • Understand that animations create an illusion of movement by showing a sequence of still images.
  • Code the micro:bit to show simple animations on its LED display output.
  • Use loops to make animations run longer using fewer instructions.

Computational thinking:

Algorithms

Programming:

Iteration

Lesson 2 details

Lesson 3: Emotion badge

Start learning about inputs and outputs using buttons and icons on the display.

Key learning:

  • Code the micro:bit to make different outputs happen depending on different inputs. (This is a very simple kind of selection. We look at selection in more detail in lesson 5, Nightlight.)
  • Understand that inputs and outputs involve the flow of data in and out of computers.
  • Apply this knowledge using the micro:bit’s button inputs and display output.

Computer systems:

Input/output

Programming:

Selection

Lesson 3 details

Lesson 4: Step counter

Introduce variables to track your step count and begin to use the accelerometer input.

Key learning:

  • Understand how sensor inputs from the accelerometer can be used to detect movement, such as when a step is taken.
  • Understand that variables are used to keep track of the current step count.
  • Understand that the order of instructions is important: display the variable’s value after updating it, not before.
  • Apply this learning to build a practical, real-world project.

Computer systems:

Input/output

Sensors

Programming:

Variables

Lesson 4 details

Lesson 5: Nightlight

Make an automatic nightlight and discover how logic, conditionals and inputs and outputs combine to make a simple control system.

Key learning:

  • Understand how inputs, outputs, and computer code work together to make control systems.
  • Understand how logic (conditional ‘if… then… else’ instructions) is used to make different outputs happen depending on changes in data from a sensor.
  • Use ‘forever’ infinite loops to keep control systems responding to changes in the environment.
  • Practise testing and improving a project to make the nightlight work better in specific local lighting conditions.

Computer systems:

Input/output

Sensors

Programming:

Selection

Lesson 5 details

Lesson 6: Rock, paper, scissors

Combine skills from the previous lessons to turn your micro:bit into an electronic simulation of a popular game of chance.

Key learning:

  • Use the accelerometer via the ‘on shake’ block to start the code running.
  • Code the creation of random numbers in a fixed range.
  • Use variables so they can be tested using logic.
  • Make use of more complex logical ‘if… then… else if…’ conditional instructions.
  • Apply these concepts to make a computer simulation of a real-world game.
  • Evaluate the fairness of computer simulations.

Computer systems:

Input/output

Sensors

Programming:

Randomisation

Selection

Lesson 6 details