Skip to content

アクティビティ

ナイトライト

初級 | MakeCode, Python | LED表示, 光センサー | システムと制御, センサー, , 入出力, 反復処理, 抽出

ステップ1: 作る

説明

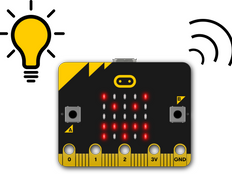
暗いところでBBC micro:bitのLEDが点灯するナイトライトです。

はじめに

プログラミングガイド

このプロジェクトでは暗くなったら自動で点灯するライトの入力として、micro:bitのLEDを 光センサー として使います。

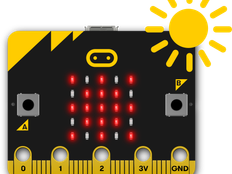
micro:bitの光センサーは、0(非常に暗い)から255(非常に明るい)の範囲の光を測定します。

動作の仕組み

  • An infinite loop in the code keeps the micro:bit checking light levels.
  • It uses logic to decide whether to turn the LEDs on or off. A conditional instruction (if… then… else) makes the decision to turn the LED lights on or off.
  • If the light level falls below 100, then it lights up the LEDs on the micro:bit’s display. Else (otherwise), it clears the screen to turn the LED lights off.
  • LEDディスプレイを隠したり光に当てたりしてみましょう。そしてLEDライトが暗くなった時に点灯するか見てみましょう。
  • You may need to change the 100 number depending on the light levels around you. Larger numbers will make the light come on more easily. Smaller numbers will make the light only come on when it’s very dark.

必要なもの

  • micro:bit(またはMakeCodeシミュレーター)
  • MakeCodeまたはPythonエディター
  • バッテリーパック(オプション)
  • 照明、micro:bitを覆うもの

ステップ2: プログラムする

1from microbit import *
2
3while True:
4    if display.read_light_level() < 100:
5        display.show(Image(
6        "99999:"
7        "99999:"
8        "99999:"
9        "99999:"
10        "99999"))
11    else:
12        display.clear()
13    sleep(2000)
14

ステップ3: 改善する

  • 暗くなったら月や星のマークを表示させてみましょう。
  • 歩いたり自転車に乗る時に安全ライトとして使用するために、micro:bitをバッグや服に取り付けてみましょう。もっと目立つように点滅させることはできますか?
  • Try this MakeCode project that makes the LED display get lighter and darker depending on the amount of light falling on the micro:bit. このように光に反応するものを、他で見たことがありますか?