Introduction to inputs & outputs
This is where you’ll discover the micro:bit’s super power! Your students can learn to make the physical device work using its many inputs and outputs and combine real interaction while working in code.
The projects highlighted below make use of the micro:bit’s LED output to create images and animations and the speaker (sound output), to play sounds and music. Some of the device's inputs are explored as ways of activating such outputs.
The projects are split into different ability levels so you can find the projects to suit your students: Getting started, Next steps and Aiming further - for more confident users.
Using micro:bit to teach the concept
Using the micro:bit provides learners with a simple and engaging introduction to working with inputs and outputs in code and the physical world.
With only two commands required to construct a program that uses the micro:bit’s LEDs to display an image, students will be enthused by their creations and committed to furthering their understanding in order to create more.
This enthusiasm can be used to explore how to construct programs that use the LEDs to display animations and repeating patterns and further develop students’ conceptual understanding of sequencing and repetition (including the use of both infinite and count-controlled loops). Their understanding can be deepened by applying these concepts when programming the micro:bit to make sounds and music through the use of its speaker.
When students are confident in constructing programs that use the outputs of the LEDs and sounds, they can be introduced to some of the micro:bit’s inputs.
First students will explore how these can be used as a trigger an output and then as a way of controlling more than one output on the micro:bit. Students can even be challenged to combine their knowledge, skills and understanding to program an animation with a supporting soundtrack.
Developing students skills
In all the projects listed below, students will have the opportunity to develop their debugging skills.
The levels of engagement students have with the micro:bit, provides a platform for them to develop resilience when locating and replacing the bugs in their programs as they are provided with a tangible purpose to fix their code.
A real advantage of using a micro:bit to explore a range of input and output devices is that it can be done without the need of attaching additional hardware to the micro:bit, allowing for maximum learning time.

What students will learn
This set of micro:bit projects for teaching and learning inputs and outputs supports students’ understanding of the following concepts.
Concepts covered
Programming: Debugging, Sequence, Loops / repetition
Computational thinking: Algorithms, Abstraction, Decomposition, Pattern recognition
Computer systems: Control, Inputs and outputs.
UK curriculum links
Find out the primary curriculum links for this set of micro:bit projects.
National Curriculum in England
National Curriculum in England
Scotland Curriculum for Excellence
Scotland Curriculum for Excellence
Northern Ireland Curriculum
Northern Ireland Curriculum
Curriculum for Wales
Curriculum for Wales

Getting started projects
If you're just getting started with micro:bit, these projects are perfect for teaching the input/output.
Heart
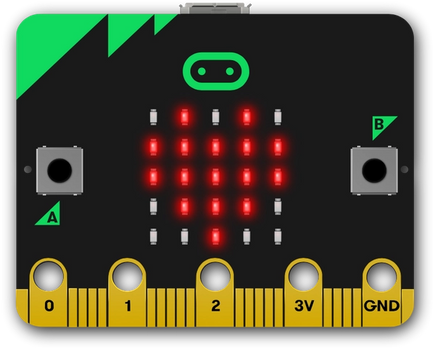
The Heart project is a great starting point when introducing pupils to the micro:bit and the MakeCode programming environment.
What students will learn
Pupils will construct a program using two command blocks to use the micro:bit’s LEDs to show an image of a heart. In doing this, pupils will increase their confidence in using block-based programming, learn how the emulator can be used to test the accuracy of their programs and learn the steps needed to transfer the program from the computer to the micro:bit.
A good way to rehearse these steps is by challenging the pupils to use the LEDs to show different images linked to those used in the ‘show icon’ blocks.
Can all the pupils program their micro:bits to show an image of a butterfly in under two minutes?
Animated animals
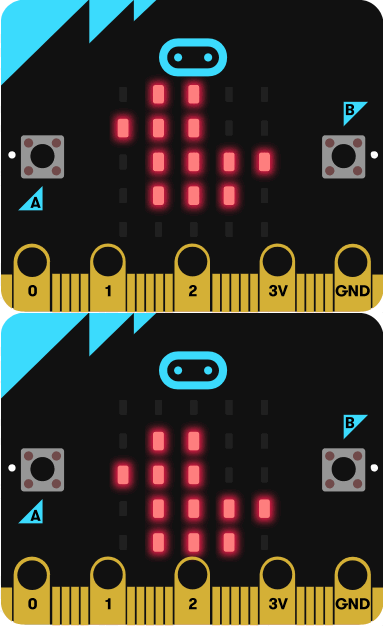
This project will allow pupils to build on their understanding of how to use the micro:bit’s LEDs to display an image by selecting which lights to turn on when creating their own image.
What students will learn
Furthermore, in order to create an animation, they are introduced to repetition in the form of an infinite loop. They will gain an understanding of how repetition can be used to construct programs that are concise are do not repeat commands.
Pupils can explore the effect that changing the value in the delay command block has on the program's output and considered how this knowledge can be applied when creating animations that are trying to achieve an effect: longer delays for soothing and calming animations, shorter delays for animations that are fast-paced and hectic.
Next steps projects
For teachers feeling confident teaching with micro:bit, these projects are a great way to teach input/output to students.
Name badge
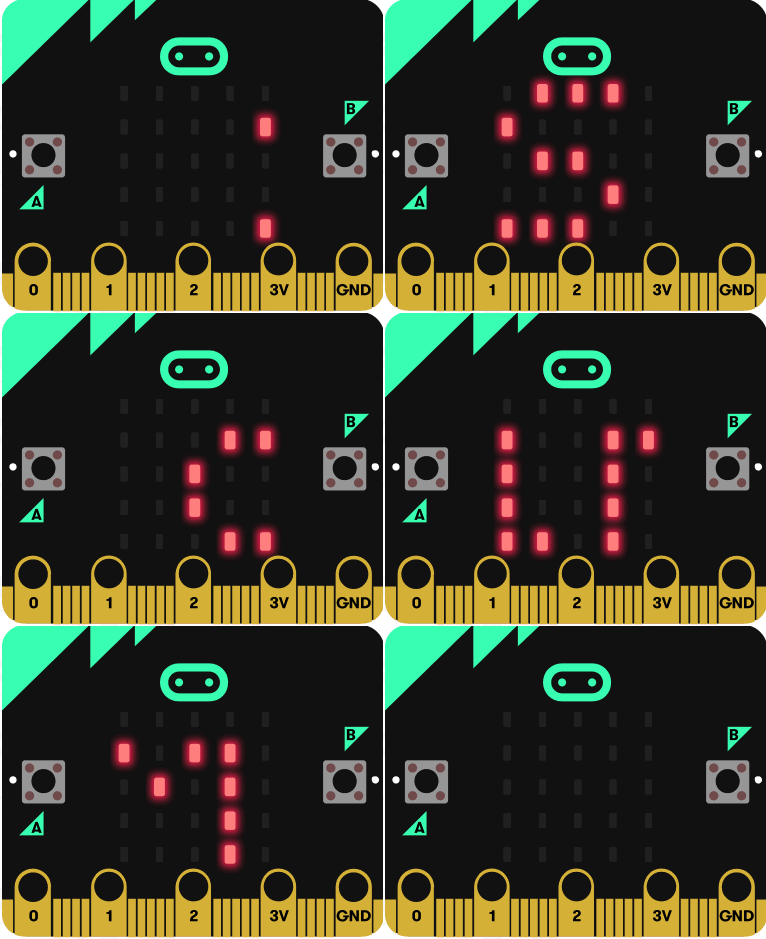
The name badge project builds on pupils' use of icons to display images and show how the LEDs can be used to represent messages using the ‘show string’ block.
What students will learn
Pupils can consider how they might combine images and text to convey information or meaning and explore the characters that can be used in the ‘show string’ block.
Shining sunbeams
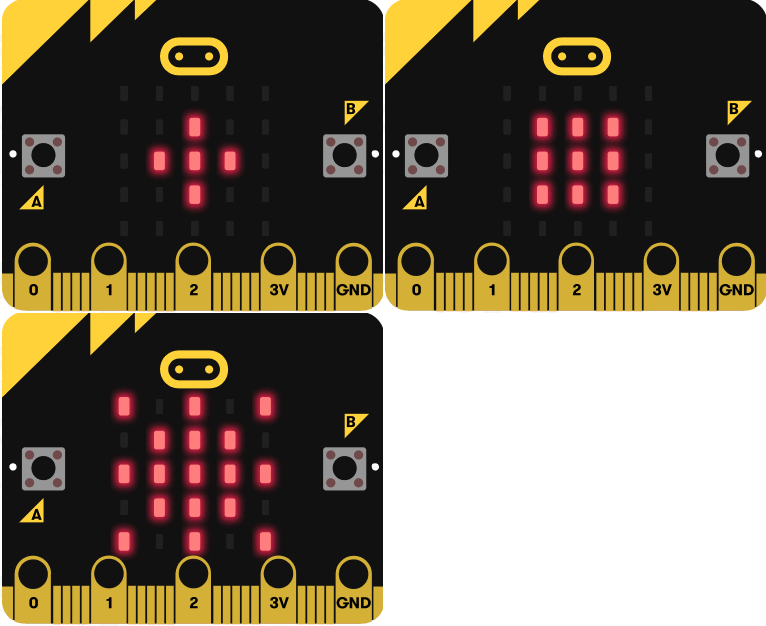
This project offers pupils the opportunity to apply their understanding of sequence and repetition to create an animation that represents sunshine.
What students will learn
Pupils will plan out the images they are going to use by identifying the LEDs they will switch on to create each image. They will then sequence the images and consider the delay that is needed between each representation, Finally, they will use repetition in the form of an infinite loop to keep the animation running.
This project provides a great starting point for creating multi-image animations. In doing so, pupils are required to consider how their chosen object can best be represented using a set of 5 x 5 LEDs. This provides an excellent opportunity to discuss abstraction: the process of focussing on key information and ignoring the information that is not important in a specific task. They will also need to consider the sequence in which they will place the images and the length of the delays that they will use.
Aiming further projects
If you are confident using micro:bit in the classroom, these projects are suitable for teaching input/output to students with some micro:bit experience.
Touch emotion badge
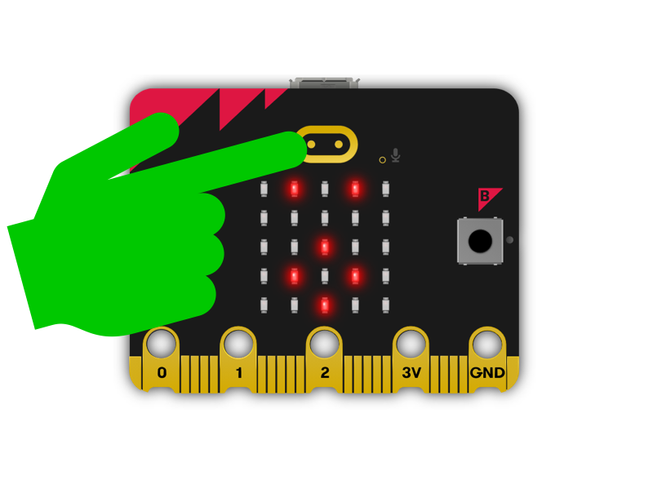
This project can be used to introduce pupils to inputs and how they can be used to activate outputs.
What students will learn
As the micro:bit has several inbuilt input devices, there is no need to attach any extra equipment so time can be sp
ent teaching and learning and not involved with trouble-shooting loose connections. Pupils will learn that input devices are a means of sending data to a computer.
Initially, they will identify the micro:bit’s A and B buttons are examples of these, before being introduced to the touch logo as an additional input device. In constructing a program that allows for different outputs to be triggered depending on the input that is used, pupils can be introduced to the input, process, output model.
They can use this knowledge to consider how everyday devices use the IPO model and identify which inputs are responsible for triggering specific outputs.
Frère Jacques loops
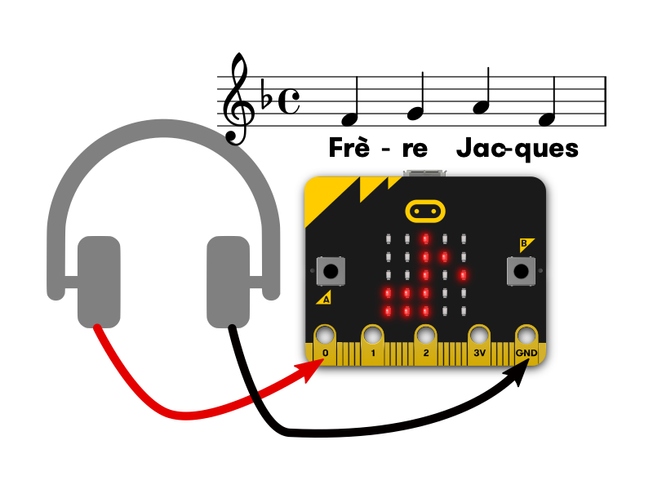
Pupils can use this project to develop their understanding of repetition further through the use of count-controlled loops.
What students will learn
By identifying musical phrases in the well-known song Frère Jacques, they can explore how repetition can be used to repeat a set of instructions an identified number of times. Through listening to the song, pupils can identify patterns in how the phrases are repeated and use this to plan out how repetition, in the form of count-controlled loops, can be used to ensure that their programs are clear and concise.
To take their learning further, pupils can be challenged to complete the song or construct their own program to play another well-known song that repeats simple musical phrases such as Happy Birthday or Twinkle, Twinkle, Little Star.
You may also like

Introduce students to the micro:bit sensors

Introduce students to the micro:bit sensors
