Introduction to variables
If you’re teaching variables, the micro:bit is a great addition to support students’ understanding of the concept.
The projects below can be used to introduce variables and explore how the data generated by the micro:bit’s input devices, plus randomly generated data, can be used in a range of programs.
The projects are split into different ability levels so you can find the projects to suit your students: Getting started, Next steps and Aiming further - for more confident users.
Using the micro:bit to teach the concept
When using the micro:bit to develop an understanding of variables, students can make use of the micro:bit’s inbuilt sensors as a way to generate data that can be recalled, changed and used.
Students may have already used the sensors to record changes in the environment and used these changes to trigger events through selection. Through these projects, they will identify that the data recorded by the micro:bit’s sensors are examples of variables and learn that these can be recalled, changed and used.
Developing student skills
Using the micro:bit to support students’ learning of variables allows for an abstract concept to be presented through purposeful real-world contexts.
Providing students with the opportunity to use a micro:bit which is running a variable based program can help introduce this concept in a tangible way.
The range of projects below provide lots of opportunities for students to program with variables. As the projects use real-world scenarios and relatable contexts, students’ learning can be supported through unplugged activities in which algorithms and programs can be planned out to support understanding.
The projects allow students to secure, transfer and apply their conceptual understanding of variables. When this knowledge is secured, students can apply it in a range of scenarios that make use of the range of inputs and outputs to create interesting and unique uses for the micro:bit.

What students will learn
This set of micro:bit projects for teaching and learning variables supports students’ understanding of the following concepts.
Concepts covered
Programming: Debugging, Sequence, Loops / repetition, Variables, Selection, Logic
Computational thinking: Algorithms, Abstraction, Decomposition, Pattern recognition
Computer systems: Control, Inputs and outputs.
UK curriculum links
Find out the primary curriculum links for this set of micro:bit projects.
National Curriculum in England
National Curriculum in England
Scottish Curriculum for Excellence
Scottish Curriculum for Excellence
Northern Ireland Curriculum
Northern Ireland Curriculum
Curriculum for Wales
Curriculum for Wales

Getting started projects
If you're just getting started with micro:bit, these projects are perfect for teaching variables.
Dice
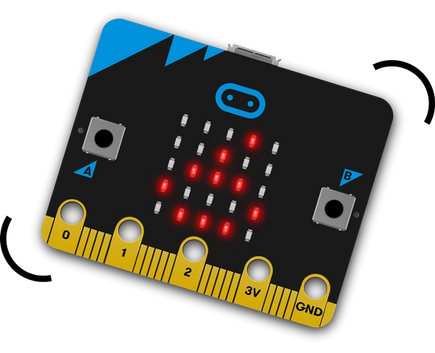
In this project, pupils learn that variables are pieces of data in a computer program that can be stored, changed, or used.
What students will learn
They will generate a random number and consider the need to set a minimum and maximum value based on the context of a micro:bit be used as a dice. They will also learn that one way to use variables is to display them and how this can be done using the micro:bit’s LEDs.
Counter
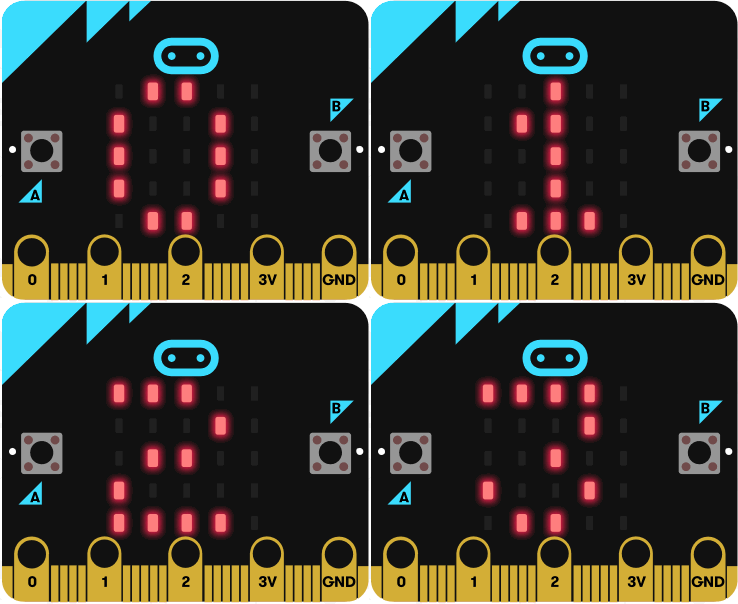
In this program, pupils use several inputs with a variable to use the micro:bit as a tool for recording data.
What students will learn
The pupils will identify how a variable be used as a counter, considering how the data will be stored, changed and used, and how the micro:bit’s inputs can be used to trigger such actions. They will create and name a new variable and program how the buttons can be used to increase the value of the variable, display the value and reset the value when another count is being undertaken.
This simple, interactive and non-prescriptive context means it can fit in with other curriculum areas (counting shapes, birds, star-jumps, etc.) and lends itself to unplugged activities where pupils can act out the role of counter to identify how the variable will be used.
Next steps projects
For teachers feeling confident teaching with micro:bit, these projects are a great way to introduce variables to students.
Graphical dice
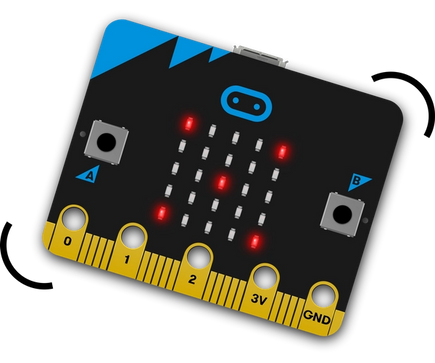
This project also uses the micro:bit as a dice. On this occasion, its LEDs are used to display the dots of a dice face.
What will students learn
This project is an excellent step on from the dice project in the ‘getting started’ section as this program uses the same input and a randomly generated value. Pupils will now have to consider the image that is going to be displayed when a specific value is returned and to use the LEDs to do this. In doing so, they will be introduced to how the value of a variable can be used as a condition when making use of selection.
They will also use selection statements with multiple else ifs to ensure that each number can be represented. Finally, they will consider why this program does not need to use repetition when using selection appreciating that sensors are not being used as an input.
Activity picker
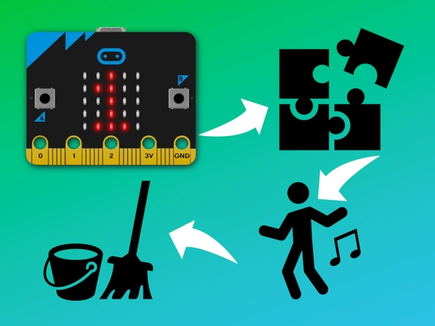
This project also uses a variable that has its value changed when a number is randomly generated similar to the graphical dice program. However, this project allows pupils to adapt the project to fit in with their interests and hobbies.
What will students learn
They are given the scenario of using the micro:bit as a tool for deciding which activity to do. If they have already completed the graphical dice project, pupils can transfer their knowledge of using a randomly generated number as part of selection. Otherwise, pupils’ understanding can be supported by creating a list of six activities to do as a classroom treat and assigning each activity a number (1-6). Then roll a dice to select one of the activities.
With the understanding of what they are going to use the micro:bit to do, pupils can explore how they will generate a random value, use this value to select the activity and display the activity that has been chosen. While the scenario of this project is as an activity selector, it can easily be changed to fit in with pupils’ learning in other curricular areas. Other examples include a times table question generator, a spelling test, historical date check, defining key vocabulary.
Aiming further projects
If you are confident using micro:bit in the classroom, these projects are suitable for teaching variables to students with some micro:bit experience.
Touch timer
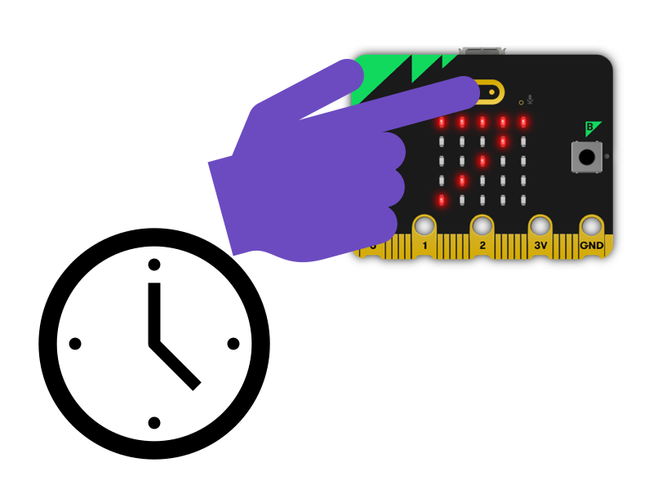
In this project, pupils will use the micro:bit’s touch logo sensor as an input to stop and start a timer.
What will students learn
This sensor is operated differently from the micro:bit’s button as it senses when the logo is touched and when it is released. In the program, pupils will use both of these inputs to start and stop a timer respectively. They will make use of data called running time which records how long the program has been running in milliseconds. Pupils will consider how this data needs to be used in a calculation to work out the time that the logo was pressed for and how variables can be used to record and display this.
In constructing this program, pupils will use two variables and the operation blocks to use these values in calculations include converting milliseconds to seconds. While this program requires only a few blocks to create, pupils will be required to plan out the variables they will need and how they will use these to achieve the purpose of the task.
micro:bit pet
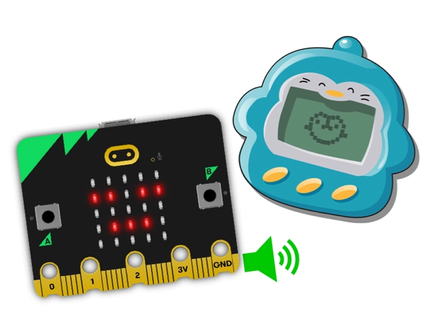
This project provides a captivating way for pupils to consolidate their use of variables by programming the micro:bit to act as a digital pet.
What will students learn
The program can be used to allow pupils to apply their understanding of variables by using a micro:bit that is running the program. In doing this, they can identify the inputs and outputs that are used in the program. They can also formulate ideas about how a variable is being used in the program, how the value might be changed, how it is used to trigger certain outputs and test these ideas out.
Presenting pupils with the code used will allow them to use their understanding to predict what will happen when the program is run and then use this as a scaffold when programming the micro:bit to be their own digital pet.
You may also like

Use micro:bit LEDs to explore the topic

Use micro:bit LEDs to explore the topic

Introduce students to the micro:bit sensors

Introduce students to the micro:bit sensors