Step 1: Introduce it
First, watch the video
Visit BBC Teach to watch the playground survey activity video and download the complete set of teacher instructions.

How it works
- This program shows how hot or cold your micro:bit is by taking a reading from the temperature sensor in its processor or CPU (central processing unit).
- This is a fairly good approximation of the temperature around the micro:bit in °C (Celsius).
- In this program, when you press input button A, the temperature reading is taken and displayed on the LEDs.
- To take a surface temperature reading, the micro:bit needs to be placed directly on the surface so that the processor casing is touching the surface.
- To help the micro:bit adjust to its new surroundings, allow at least 60 seconds for it to acclimatise before taking a reading.
- We advise taking multiple readings until you get 3 the same. This will help ensure more reliable temperature readings.

What you need
- Playground survey pupil worksheets for recording and pens or pencils
- micro:bit and battery pack for each pupil, pair or small group
- MakeCode editor to code (optional) or downloaded hex file ready to use
- To put code on your micro:bit you will need one of the following:
- a computer (e.g. laptop or Chromebook) and a micro:bit USB lead
- an Android tablet with the micro:bit USB lead and an adapter (support article with more detail)
- an Apple iPad with Bluetooth enabled and the micro:bit app (support article with more detail for Apple iPads)
- 4 different surfaces in your playground (2 natural surfaces, 2 synthetic surfaces). Make sure they are all in sunlight or all in shade – that way it will be easier to compare your temperatures and spot patterns.
Step 2: Code it
This step-by-step video shows you how to code your micro:bit to become a thermometer:
Make it your own
- Add audio feedback when you get a temperature reading.
- Add cardboard to make the buttons easier to press, as seen in the Improve it section of the Emotion badge project.
- Use the Touch stopwatch project on another micro:bit to help you keep count.
Step 3: Use it
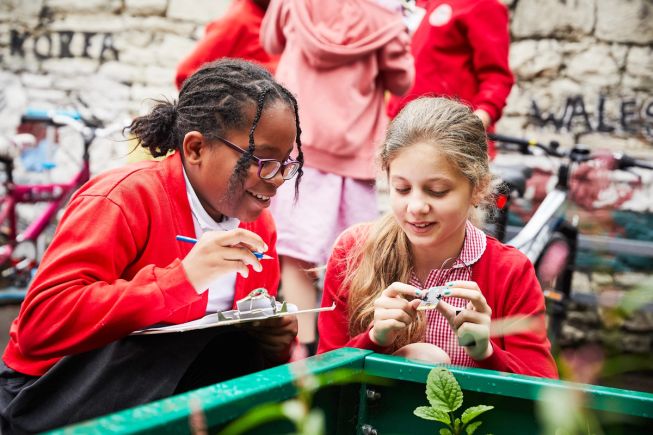
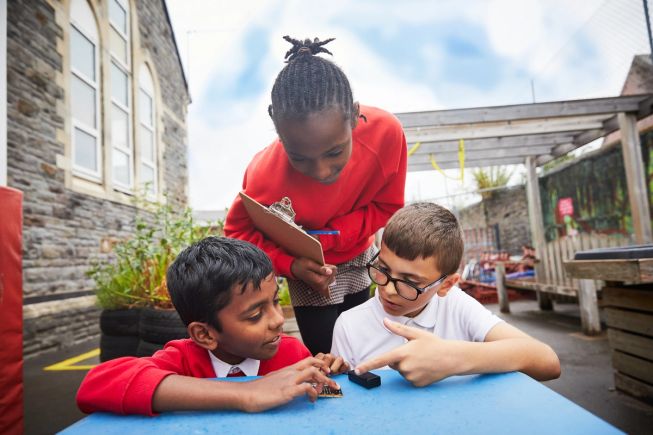
Gather data in your playground
Transfer the code to your micro:bit, and plug in your battery pack to get started.
Follow the teacher instructions for this fieldwork session.
Encourage pupils to make predictions based on their current scientific knowledge before you begin.
Note down the temperature readings on the playground survey pupil worksheets.

Step 4: Analyse & use data
Work out the class average temperatures for each surface and note them on the playground survey class poster.
Use the teacher instructions to support analysing the data together in the classroom. You could ask the following questions:
Questions about our findings:
- What surface temperatures did you experience in different parts of your playground?
- What are the differences between these 4 readings and what conclusions can be made from this?
Link back to what we wanted to find out:
- How does the surface material of your playground affect the surface temperature?
- Were our predictions correct?
Look ahead:
- What action do we want to take based on our findings?