MakeCode visual options
Some students may require larger font or zoomed-in blocks to be able to use the MakeCode editor successfully.
This article below details some ways to adapt the visual appearance of the MakeCode editor for your students, using browser zoom and different features in the MakeCode editor.
Other suggestions which may be relevant:
- If you need more colour options, consider using your computer's colour filters settings with MakeCode
- If your student has a visual impairment and is confident using a screen reader, it may be more appropriate to learn Python immediately rather than learning block coding which is inherently very visual.
- You may find it helpful to do some classroom exercises with cut-out blocks, which could have braille labels attached for visually impaired students who read braille. This might be an introductory tactile exercise before independently using the code editor with the adaptations described below, or it might be appropriate for a peer or support worker to copy the code into the MakeCode editor.
MakeCode themes
MakeCode has options for colour theme under the Settings menu, as shown in the screenshot below.
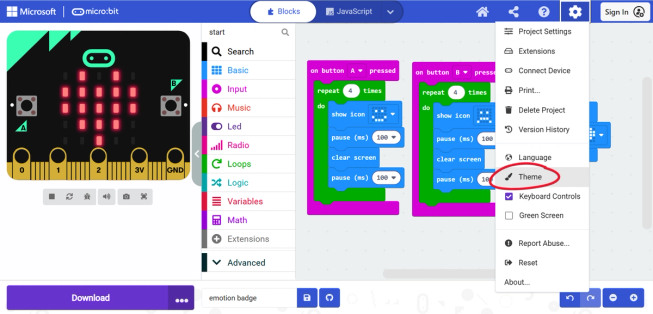
Currently there are options for Light, Dark and High Contrast.
Note that the blocks always use the same colours and white text, no matter which theme you choose. Only the background and surrounding user interface elements change. If this doesn't suit your needs, you may may wish to try alternative workarounds using Colour Filters with MakeCode.
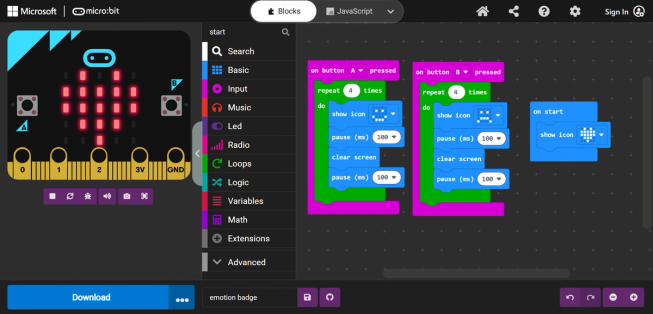
Dark theme
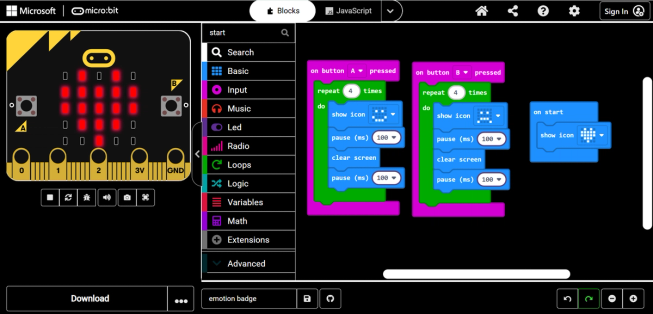
High contrast theme
Zooming into the MakeCode workspace
If you just want to increase the size of the blocks, without the rest of the user interface scaling, you can zoom into the area containing the code blocks using:
- The "+" and "-" zoom buttons in the bottom right of the page
- A pinch gesture on a tablet / touch screen (unless this is being used for full page zoom via system accessibility settings)
- Hold down Ctrl and scroll up with your mouse wheel, while it is over the block coding area
Zooming into the whole page
Sometimes it may be useful to zoom into the whole page, using browser zoom controls. This will make all the buttons and UI elements larger, not just the code blocks, and the layout will adapt accordingly.
You can zoom in the following ways:
- Hold Ctrl and Shift and press + on a Windows PC
- Hold Cmd and press + on a Mac
- Hold Ctrl and scroll up with your mouse wheel, while it is somewhere on the page other than the block coding area
- Use the browser zoom controls, as shown in the screenshot below.
- Change the default zoom in the browser settings
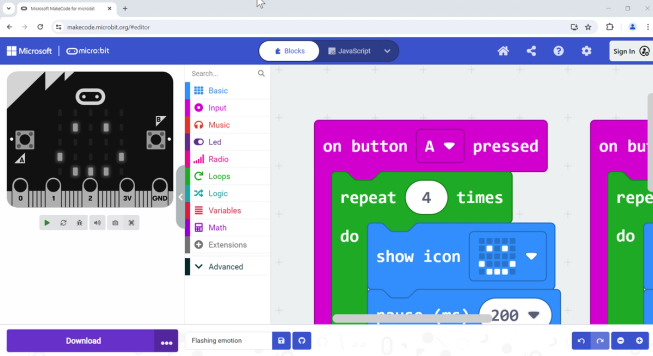
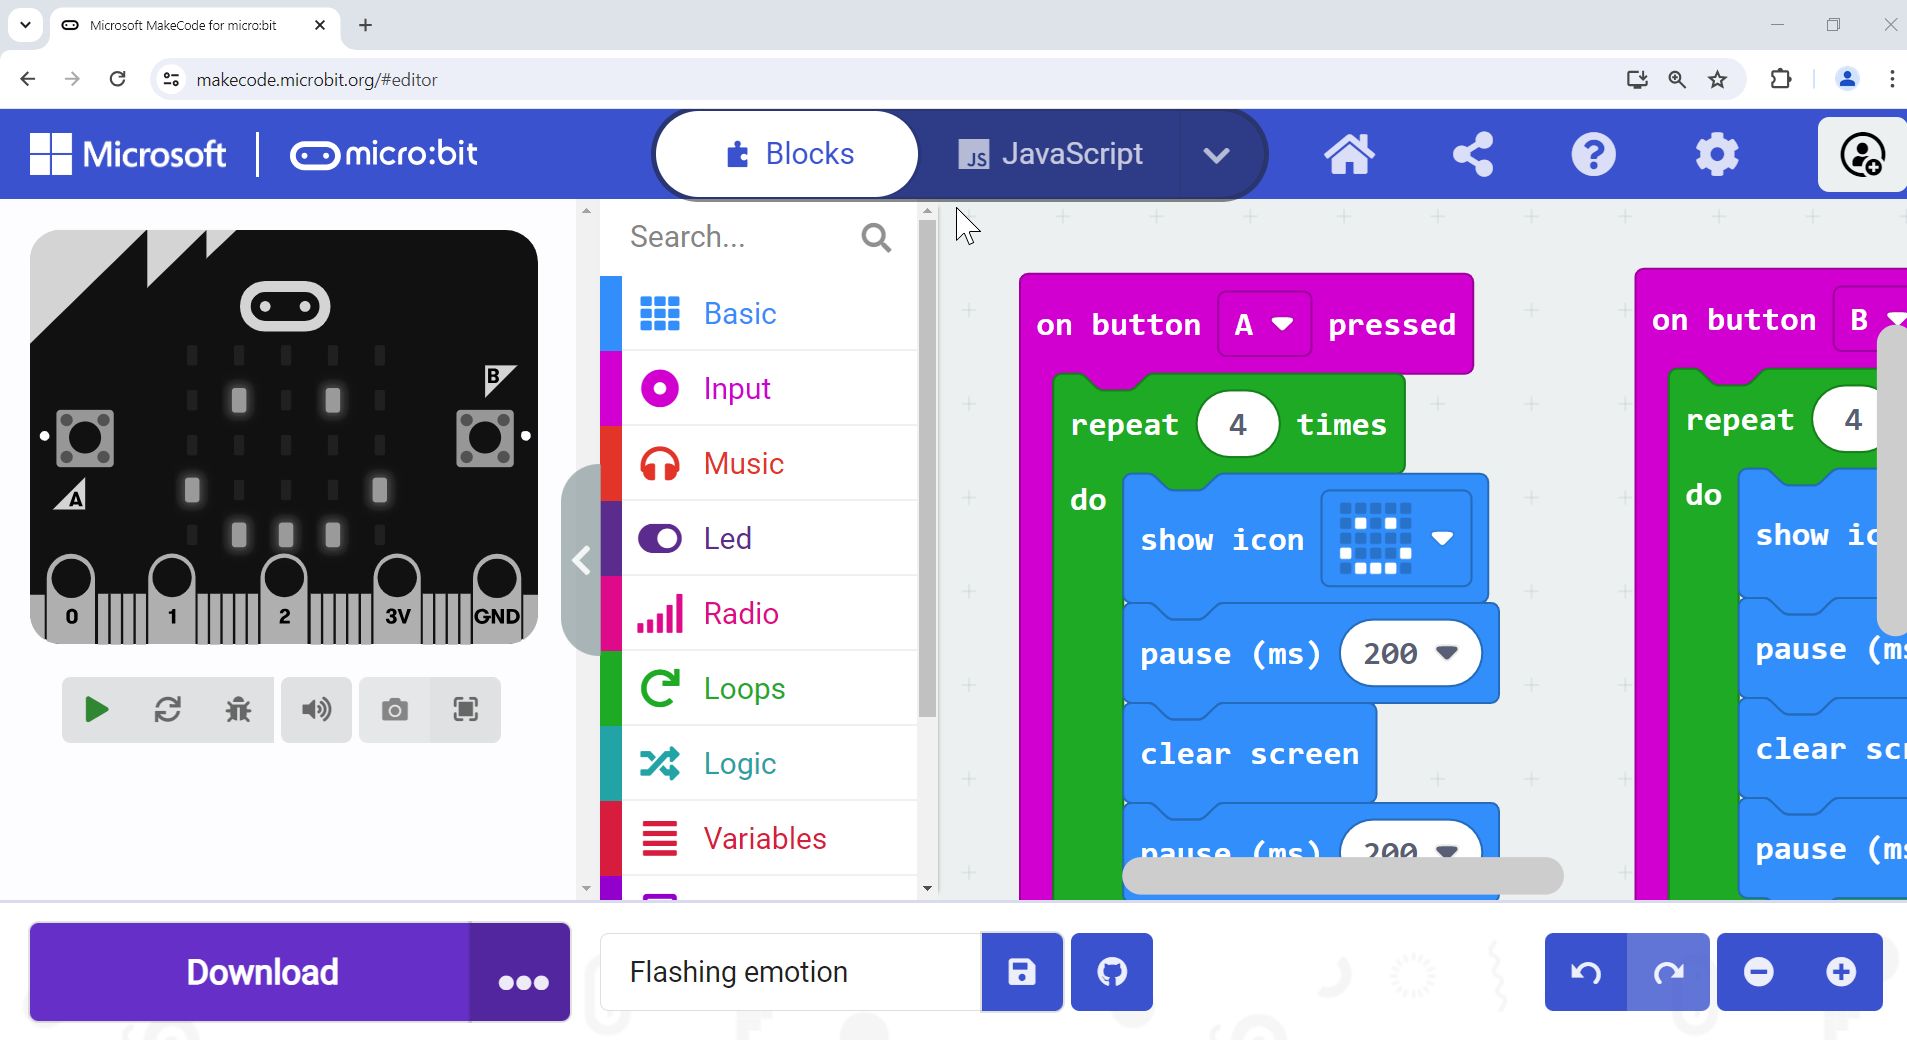
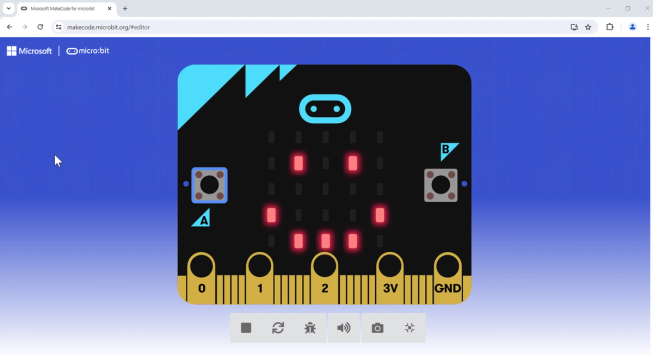
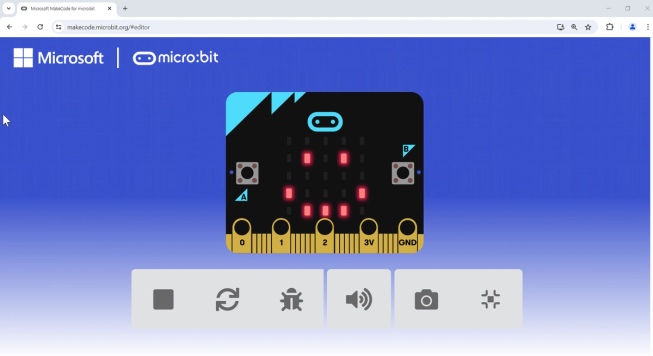
The following screenshots show the whole page zoom in increasing amounts. As the zoom increases, some areas collapse when not in use. Note that once the simulator collapses, it reappears over the coding area.
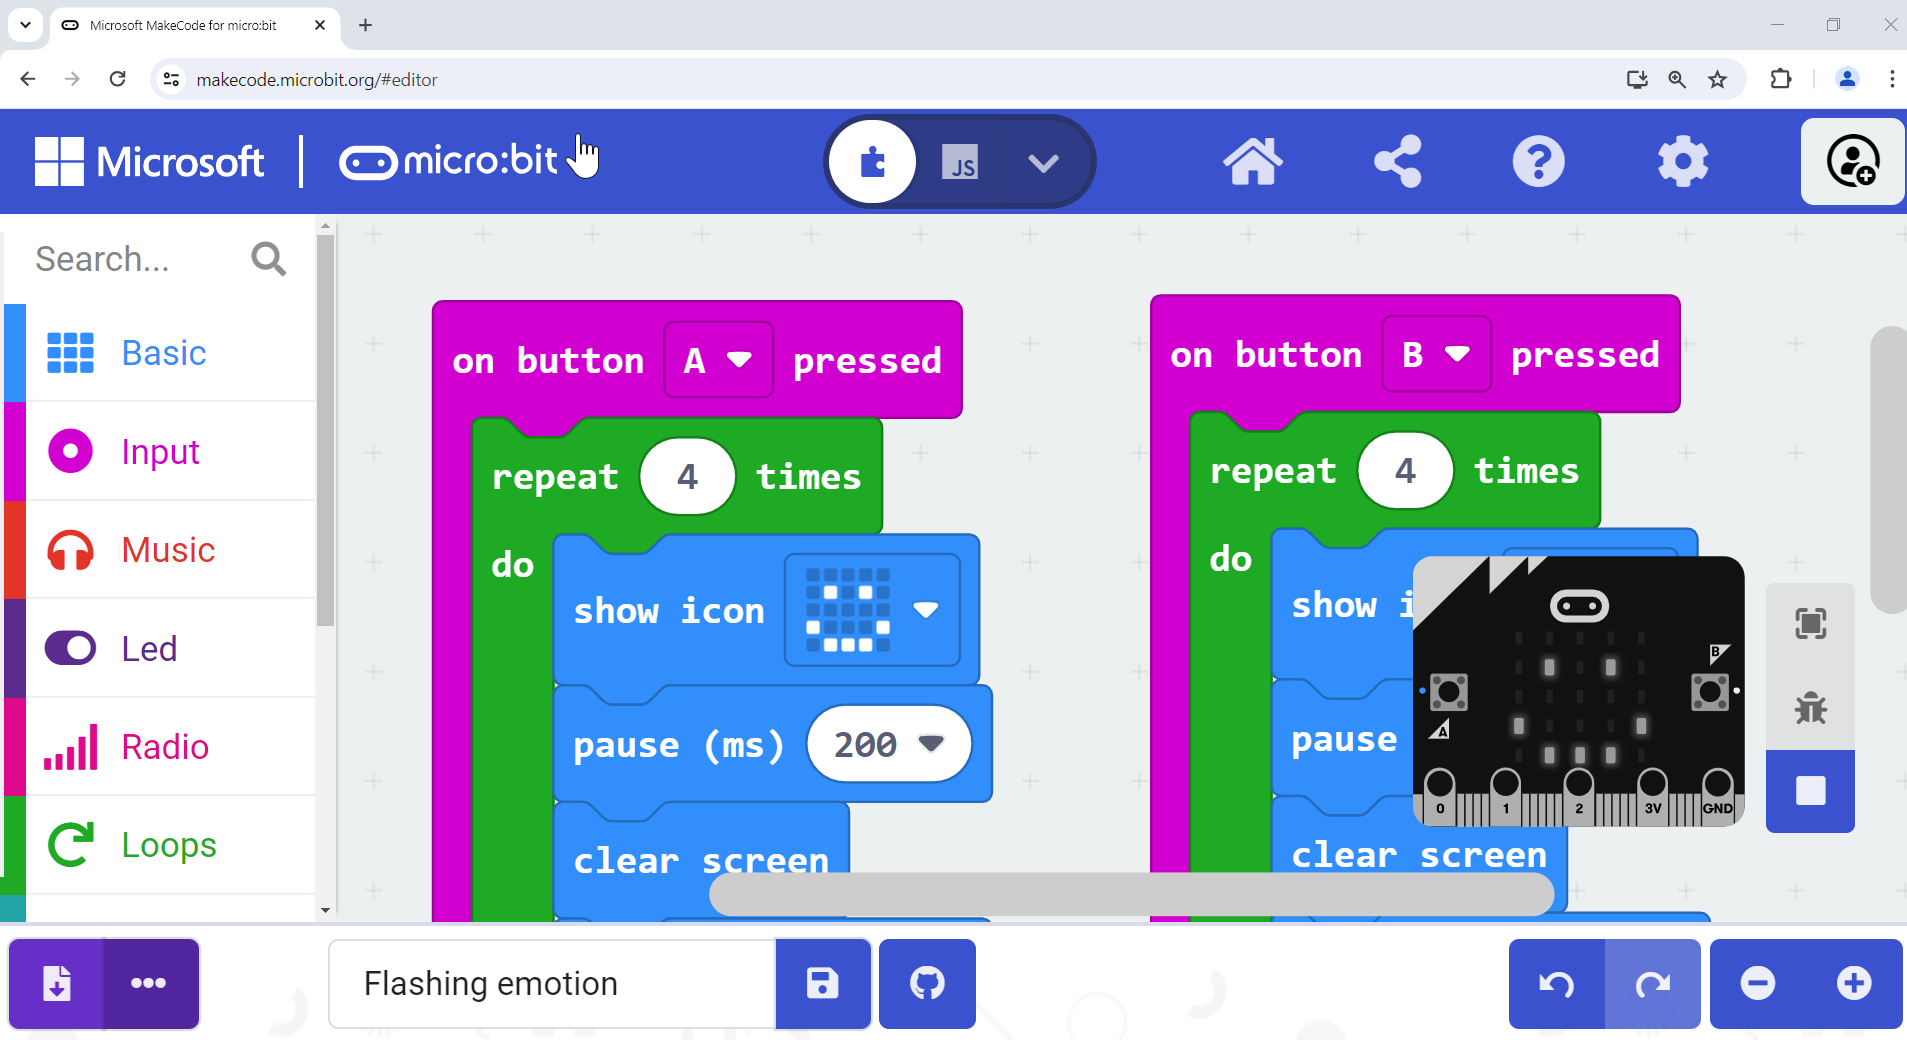
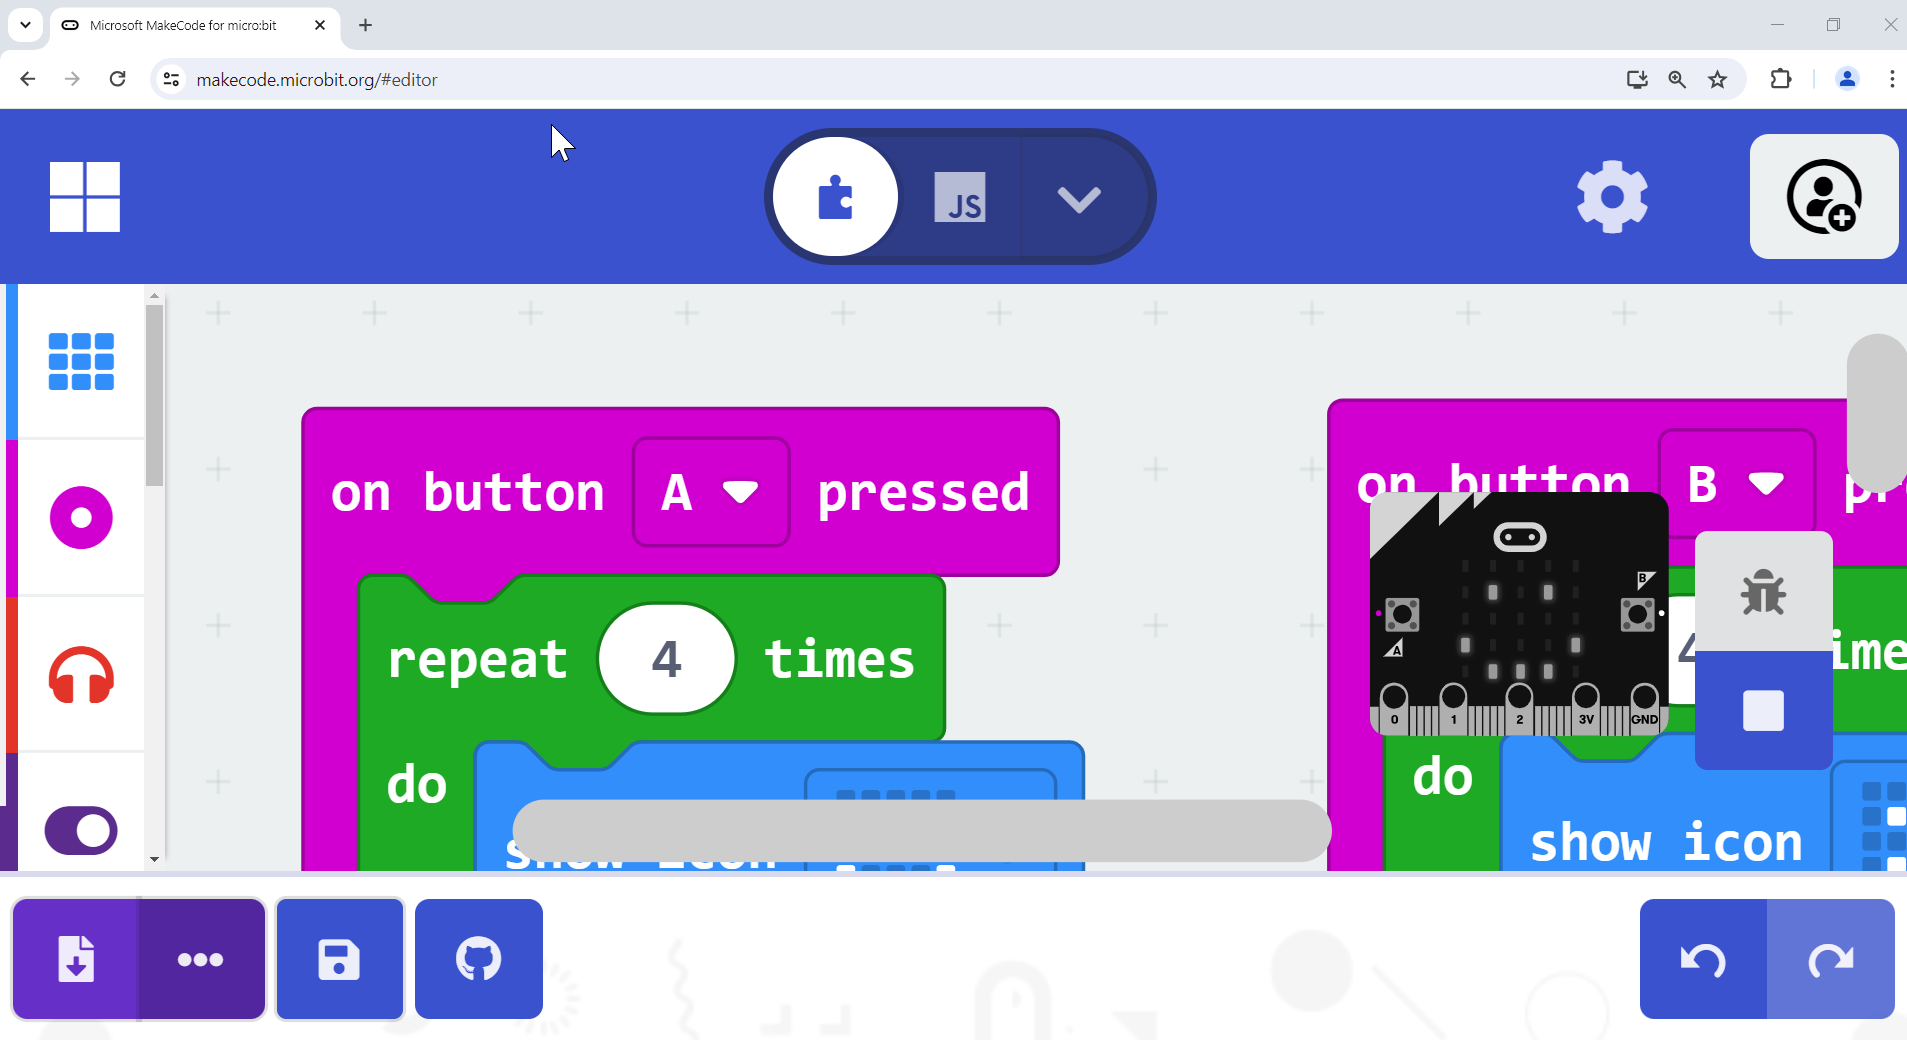
Collapsing unused areas
You may find it helpful to collapse certain areas of the editor while you are not using them, to give more screen space and focus to the coding task that you are doing. When you zoom the whole page, some parts are collapsed or resized automatically.
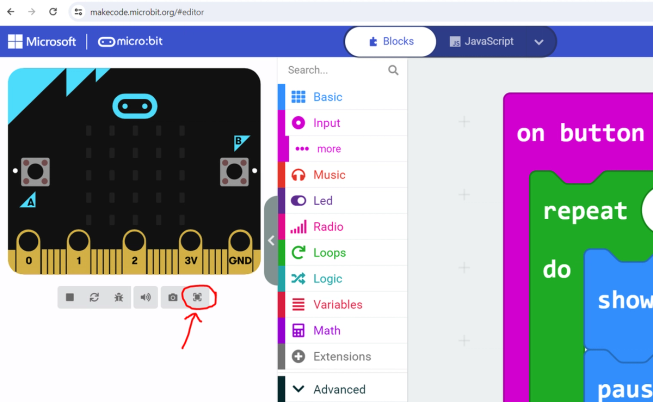
Making the simulator fullscreen
The simulator allows you to test out programs without running them on a physical micro:bit. This also can be a great tool for students for whom a physical micro:bit is less accessible, for example if they find it hard to see the LED lights, or want to use headphones on their computer to listen to the audio output.
To view the simulator in fullscreen mode, click the fullscreen icon under the picture of the micro:bit.
If it helps to have larger controls (with a smaller micro:bit) then you can zoom the page as previously described and the size of the controls will adapt. This may be helpful for a student using alternate access such as eye gaze, or someone who finds precise mouse control difficult.
If you have any other tips and tricks to share for adapting the visual appearance of MakeCode for students with different needs, please let us know at accessibility@microbit.org