The micro:bit can be programmed to perform actions when a button is pressed, or a gesture (such as a shake) is performed. Some students with physical disabilities may find it difficult to press these buttons, or perform some of the standard gestures.
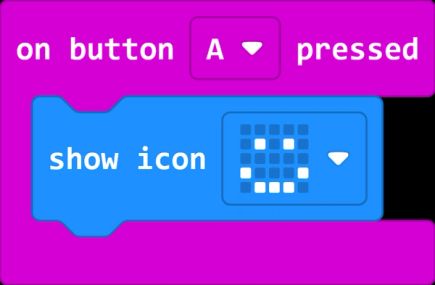
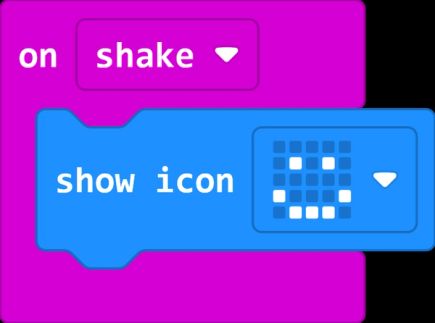
There are many options to adapt the input according to the individual student’s capabilities, by changing the event block used in the project’s code. For example, the Emotion Badge lesson plan uses the buttons A and B to display different icons, with the following code for displaying a smiley face:
To use a shake gesture instead, replace the outer block with an ‘on shake’ block. Your student might hold the micro:bit to shake it, or use a wearable strap to attach it to a wrist or ankle.
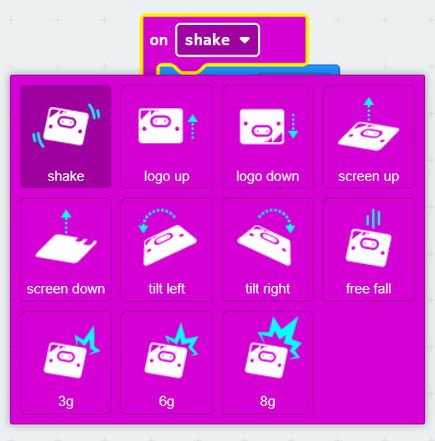
You can also change from a shake to a different gesture, using the dropdown.
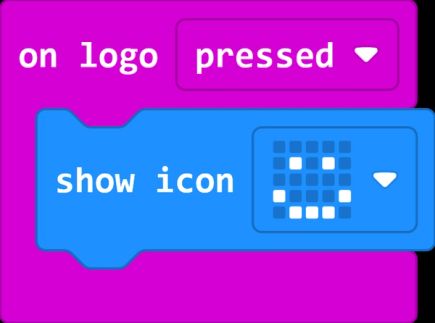
You can also use the touch sensor (logo) instead with an ‘on logo pressed’ block. Some students may find it easier compared to pressing a push button as it does not need any force to be applied.
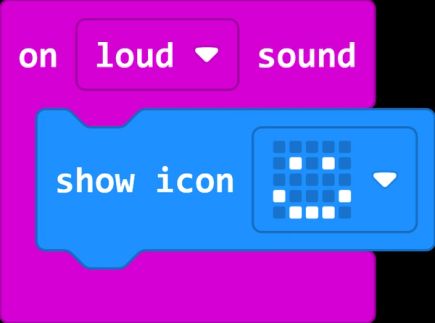
Or use a loud noise as an input with an ‘on loud sound’ block.
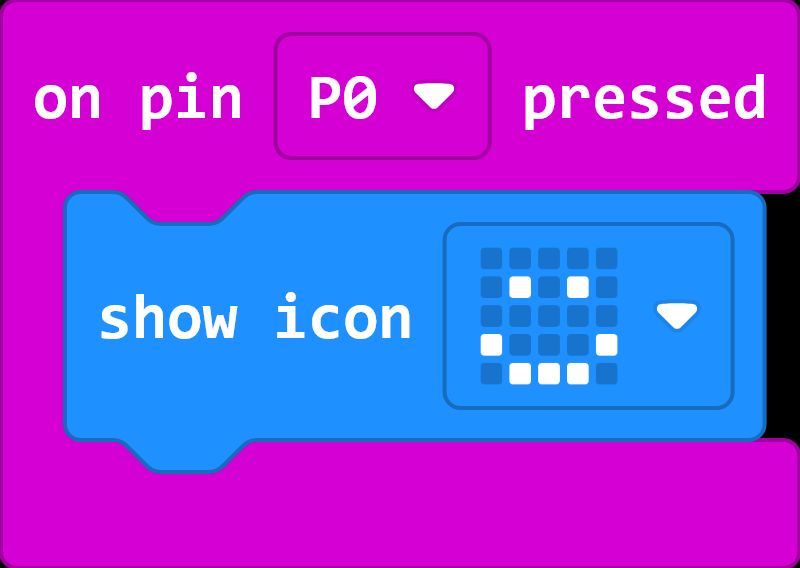
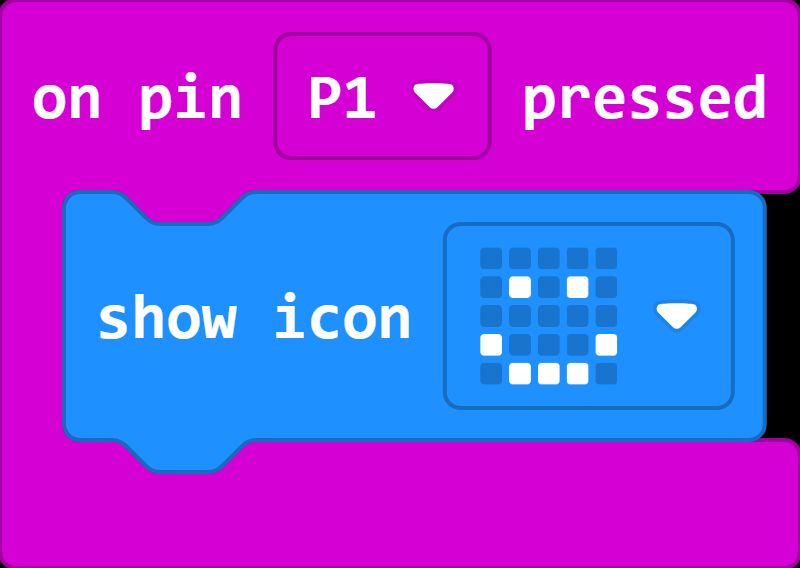
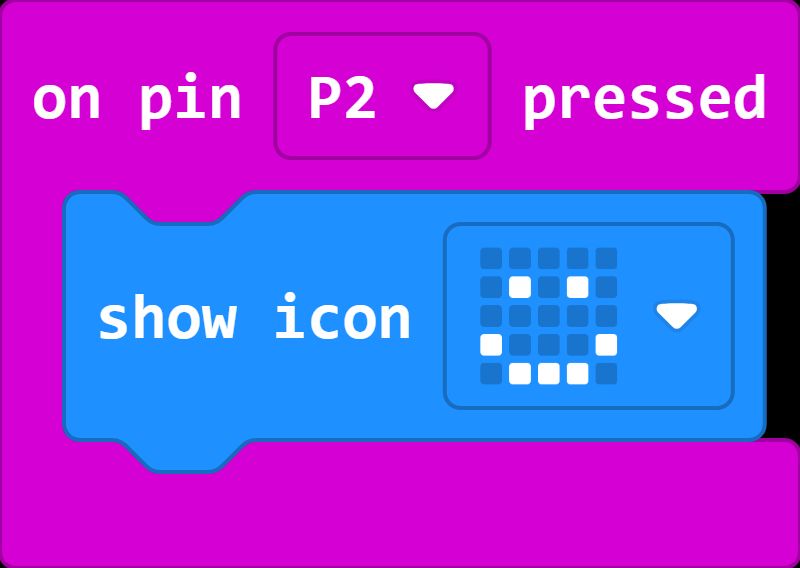
If you are using an assistive switch, or a DIY switch that you have built, you will need an ‘on pin pressed’ block instead. Make sure you use the correct pin number to match whichever pin you have connected the switch to. For more information, see standalone page on using switches.