3. Get coding with micro:bit
It’s really simple to learn to code with your BBC micro:bit. In this step we will introduce you to Microsoft MakeCode where you will create your first piece of code and transfer it to your micro:bit.
Welcome to Microsoft MakeCode
Microsoft’s MakeCode editor is the perfect way to start coding with the BBC micro:bit. The colour-coded blocks allow you to drag and click together bits of code to access all the features of this tiny computer.
The video below includes an introduction to MakeCode.
We recommend using Chrome or Edge browsers.
Note: In addition to Microsoft MakeCode, you can code your micro:bit with other editors, including the micro:bit Python Editor and Scratch. See Let’s code for more details.
Start with the name badge project
We think name badge is a great first project. Not only is it quick and easy, you will be able to wear it into class and impress your students.
To complete this project:
Step 1 - Watch this short video tutorial
Step 2 - Complete the name badge project
Follow the steps from the video above using this MakeCode tutorial (this will open in a new window):
Don't forget to come back here when you're finished!
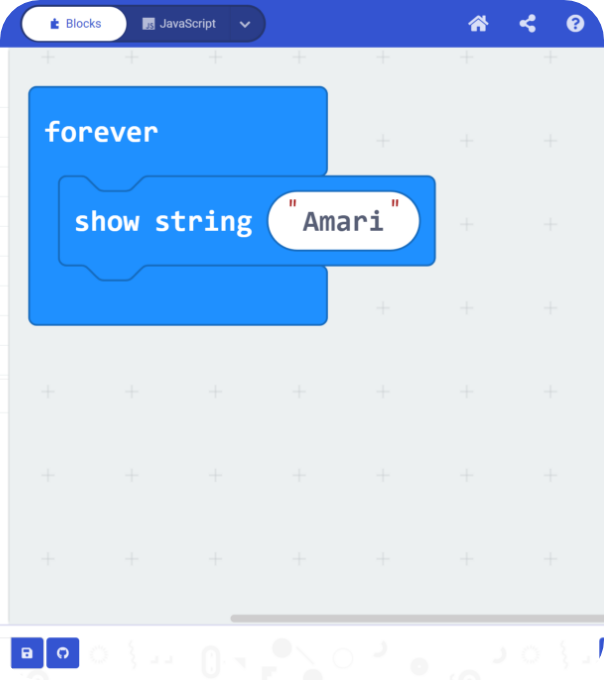
Transferring the code to your micro:bit
Now it’s time to transfer your completed code onto your micro:bit (if you haven’t already).
Just select ‘Download’ (bottom left in MakeCode) and follow the instructions.
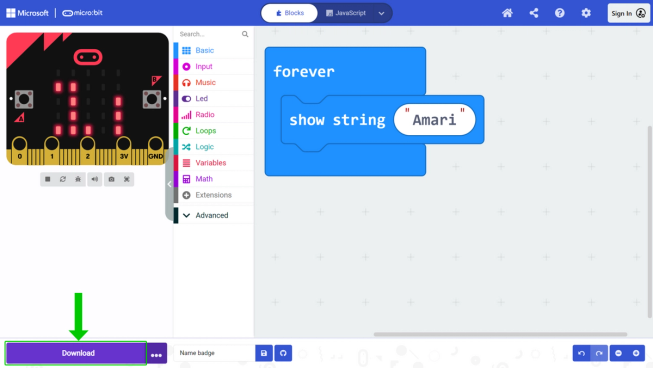
If you see a name scroll across your micro:bit LEDs then your transfer was successful.
Apple iPad
To share code from an iPad to a micro:bit you will need the iOS app. The code is transferred using Bluetooth so please enable this on the iPad.
Welcome to Microsoft MakeCode
Microsoft’s MakeCode editor is the perfect way to start coding with the BBC micro:bit. The colour-coded blocks allow you to drag and click together bits of code to access all the features of this tiny computer.
The video below includes an introduction to MakeCode.
Start with the name badge project
We think name badge is a great first project. Not only is it quick and easy, you will be able to wear it into class and impress your students.
To complete this project:
Step 1 - Watch this short video tutorial
Step 2 - Complete the name badge project
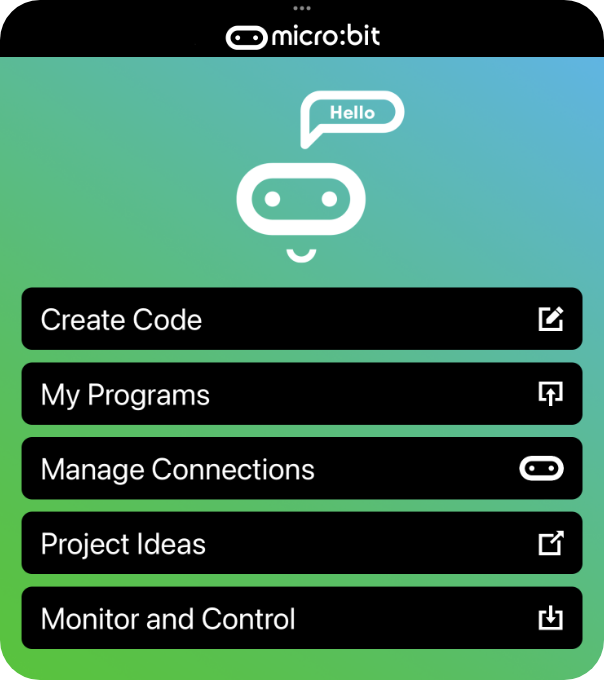
Choose Create Code
In the app
Choose New Project
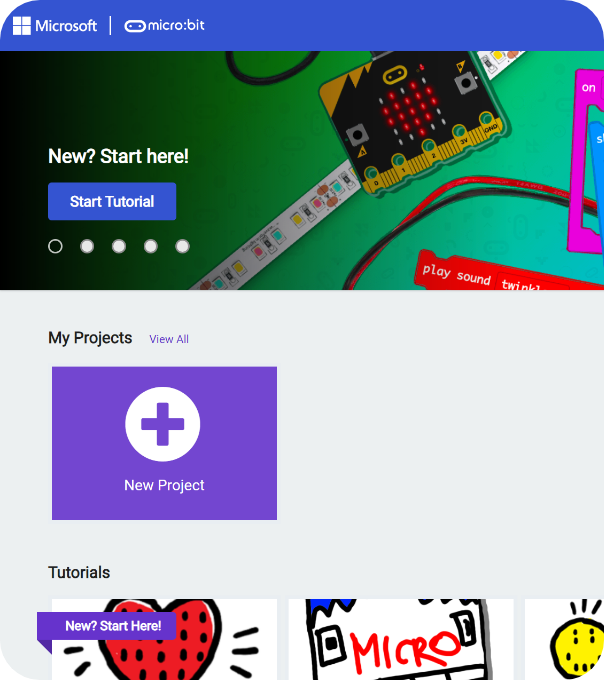
From the MakeCode home page
Follow the steps in the video
As shown in the video above
Don’t forget to come back here when you’re finished!
Transferring the code to your micro:bit
Now it’s time to transfer your completed code onto your micro:bit (if you haven’t already).
Just select ‘Download’ (bottom left in MakeCode) and follow the instructions.
If you see a name scroll across your micro:bit LEDs then your transfer was successful.
Android devices
To share code from an Android device to a micro:bit you can either use a USB cable or the Android app.
Using a cable: follow the instructions for coding on a computer instead. You must use a Chrome or Edge browser and connect the USB cable to download.
Using the Android app: follow the instructions below. This is only available for Android 5 - 12.
Welcome to Microsoft MakeCode
Microsoft’s MakeCode editor is the perfect way to start coding with the BBC micro:bit. The colour-coded blocks allow you to drag and click together bits of code to access all the features of this tiny computer.
The video below includes an introduction to MakeCode.
Pair your micro:bit with your Android device
Follow the instructions in this video to pair your Android device with your micro:bit.
Start with the name badge project
We think name badge is a great first project. Not only is it quick and easy, you will be able to wear it into class and impress your students.
To complete this project:
Step 1 - Watch this short video tutorial
Step 2 - Complete the name badge project
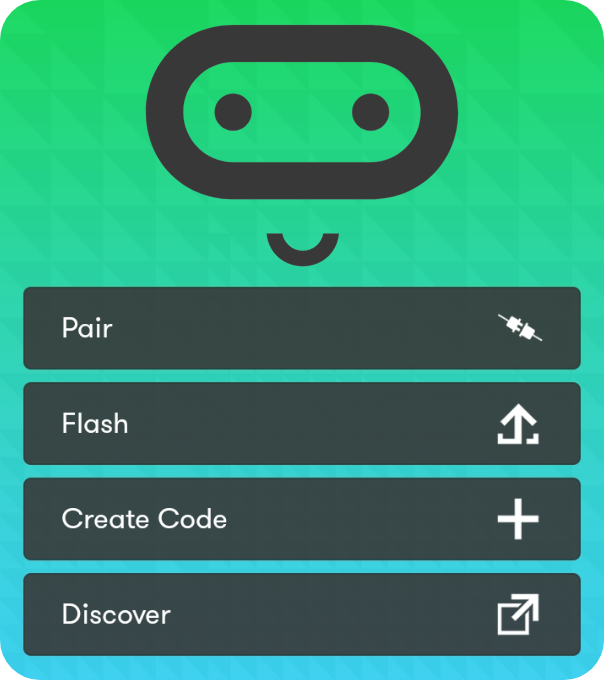
Choose Create Code
In the app
Choose New Project
From the MakeCode home page
Follow the steps in the video
As shown in the video above
Don’t forget to come back here when you’re finished!
Transferring the code to your micro:bit
Now it’s time to transfer your completed code onto your micro:bit (if you haven’t already).
Just select ‘Download’ (bottom left in MakeCode) and follow the instructions.
If you see a name scroll across your micro:bit LEDs then your transfer was successful.
You will find a lesson and other resources related to this activity in step 4.